

How to Capture and Upload Screenshots to the GL Strings Dashboard using an Integration
This article will show users how to automatically upload screenshots to the GL Strings dashboard. To learn how to upload new or edit existing screenshots manually see the Uploading & Editing Screenshots documentation.
On GL Strings, regular screenshots can be turned into Augmented Screenshots to provide even more context for translators and reviewers. Augmented Screenshots are a combination of the screenshot itself with a specific set of metadata that informs GL Strings about which strings are present on a screen as well as the string’s position.
The main ways to upload screenshots via an integration include:
Screens uploaded via the GL Strings SDK, Appium, or design plugins automatically capture the string/screen pairing and the string’s position. For screens uploaded via the API, users can send the metadata of the screen association (tag) and string positions along with the upload call.
Draft Mode must be enabled in the Project Settings page in order to use this option.
See the Draft Mode and On-Device Testing page for more details about the GL Strings Draft Mode.
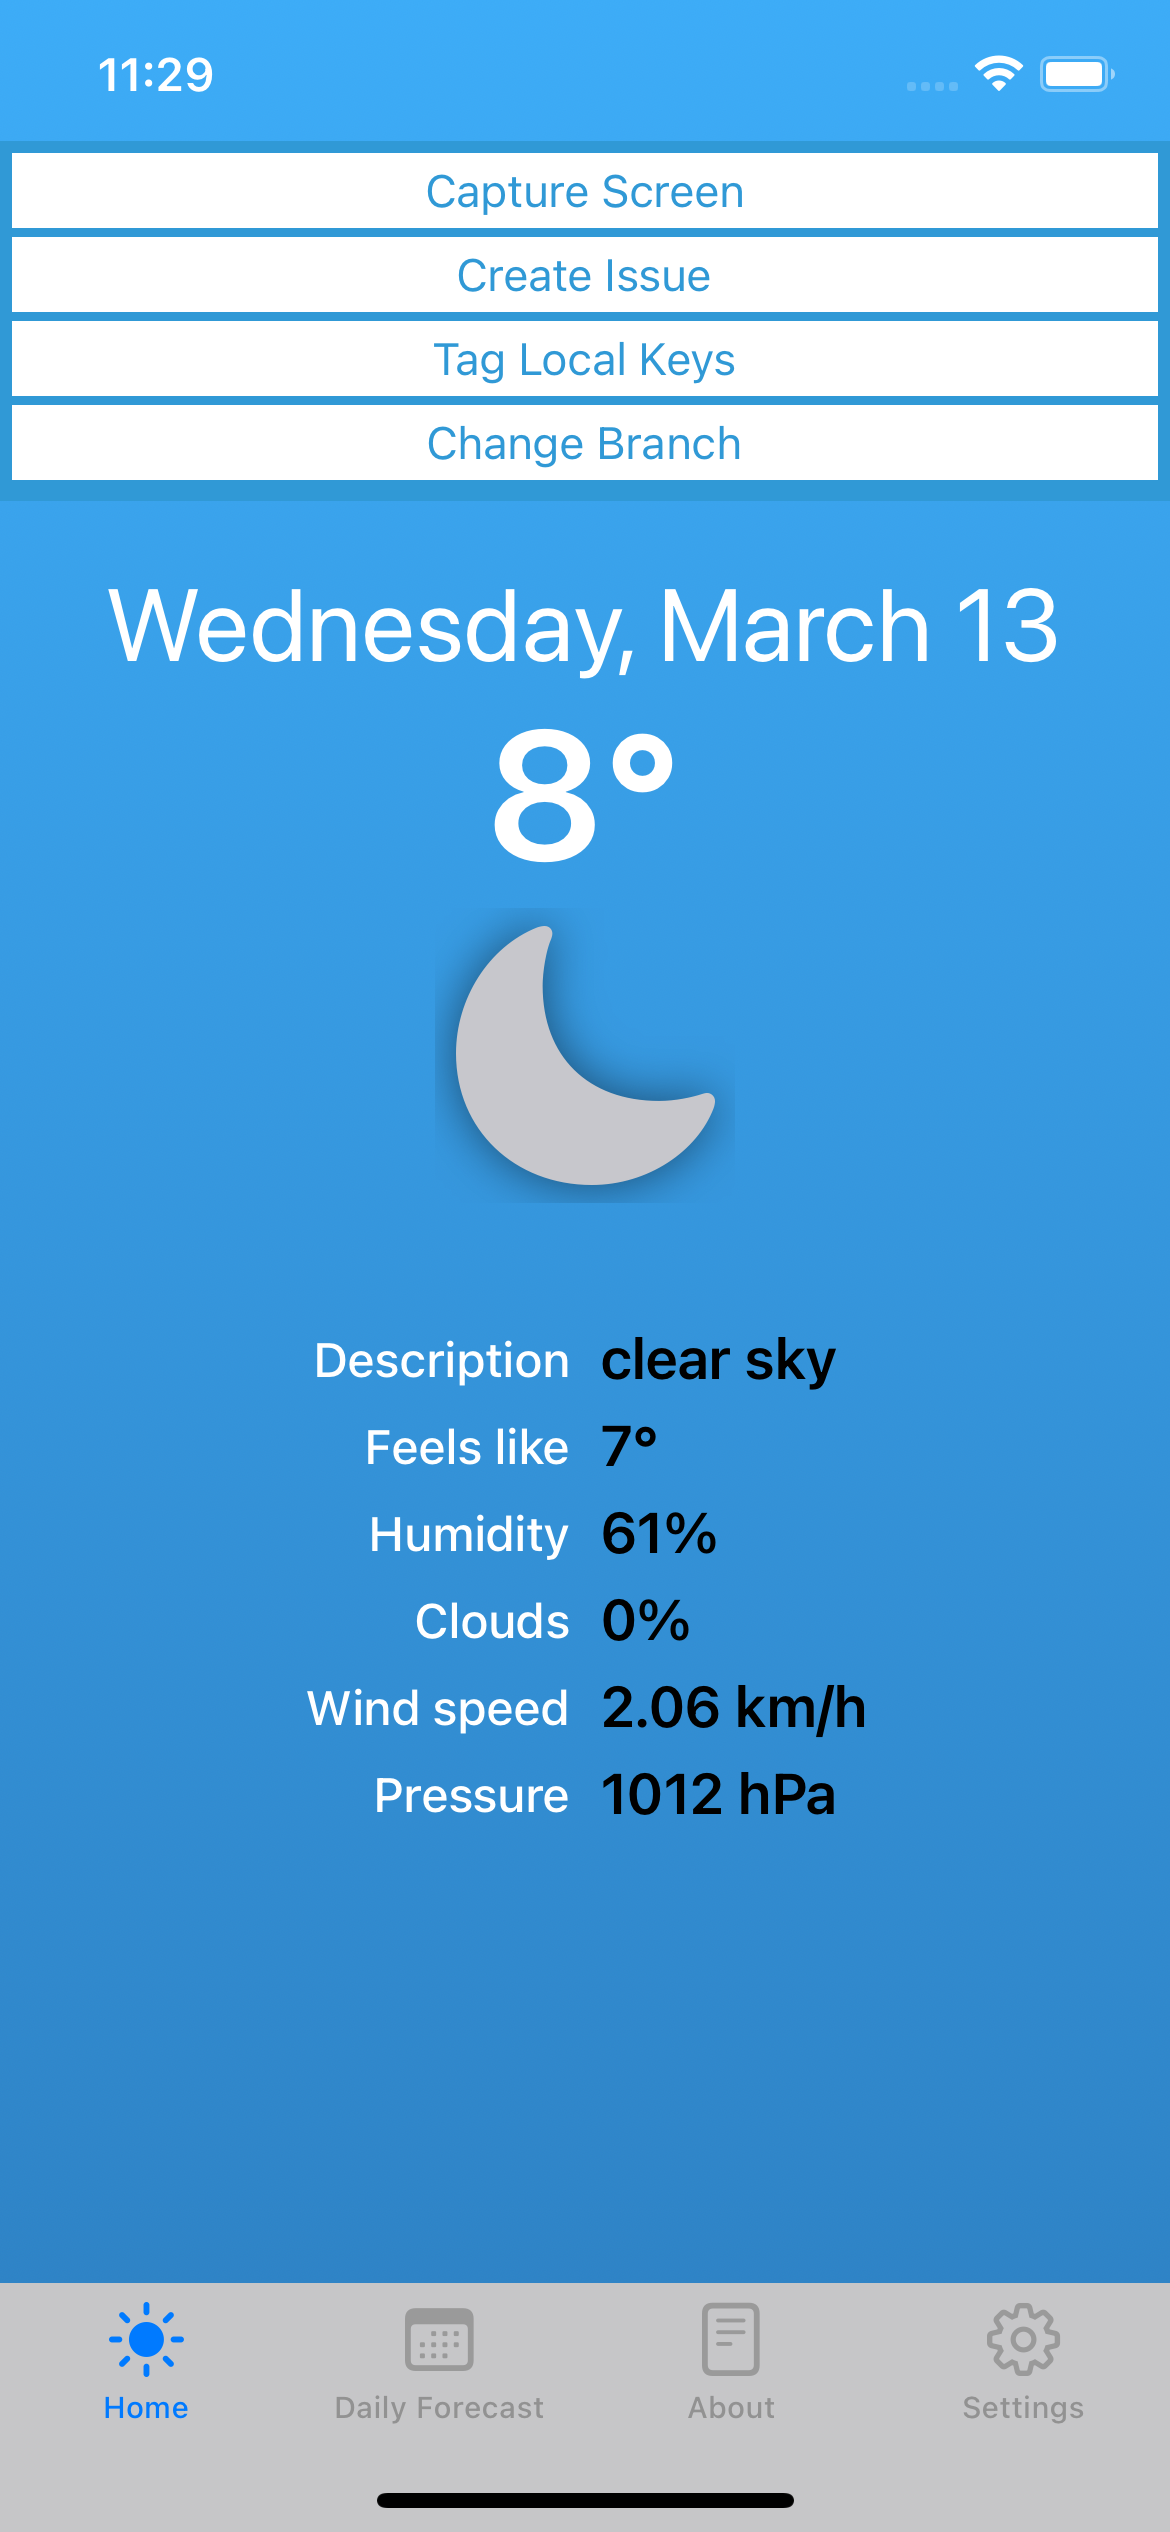
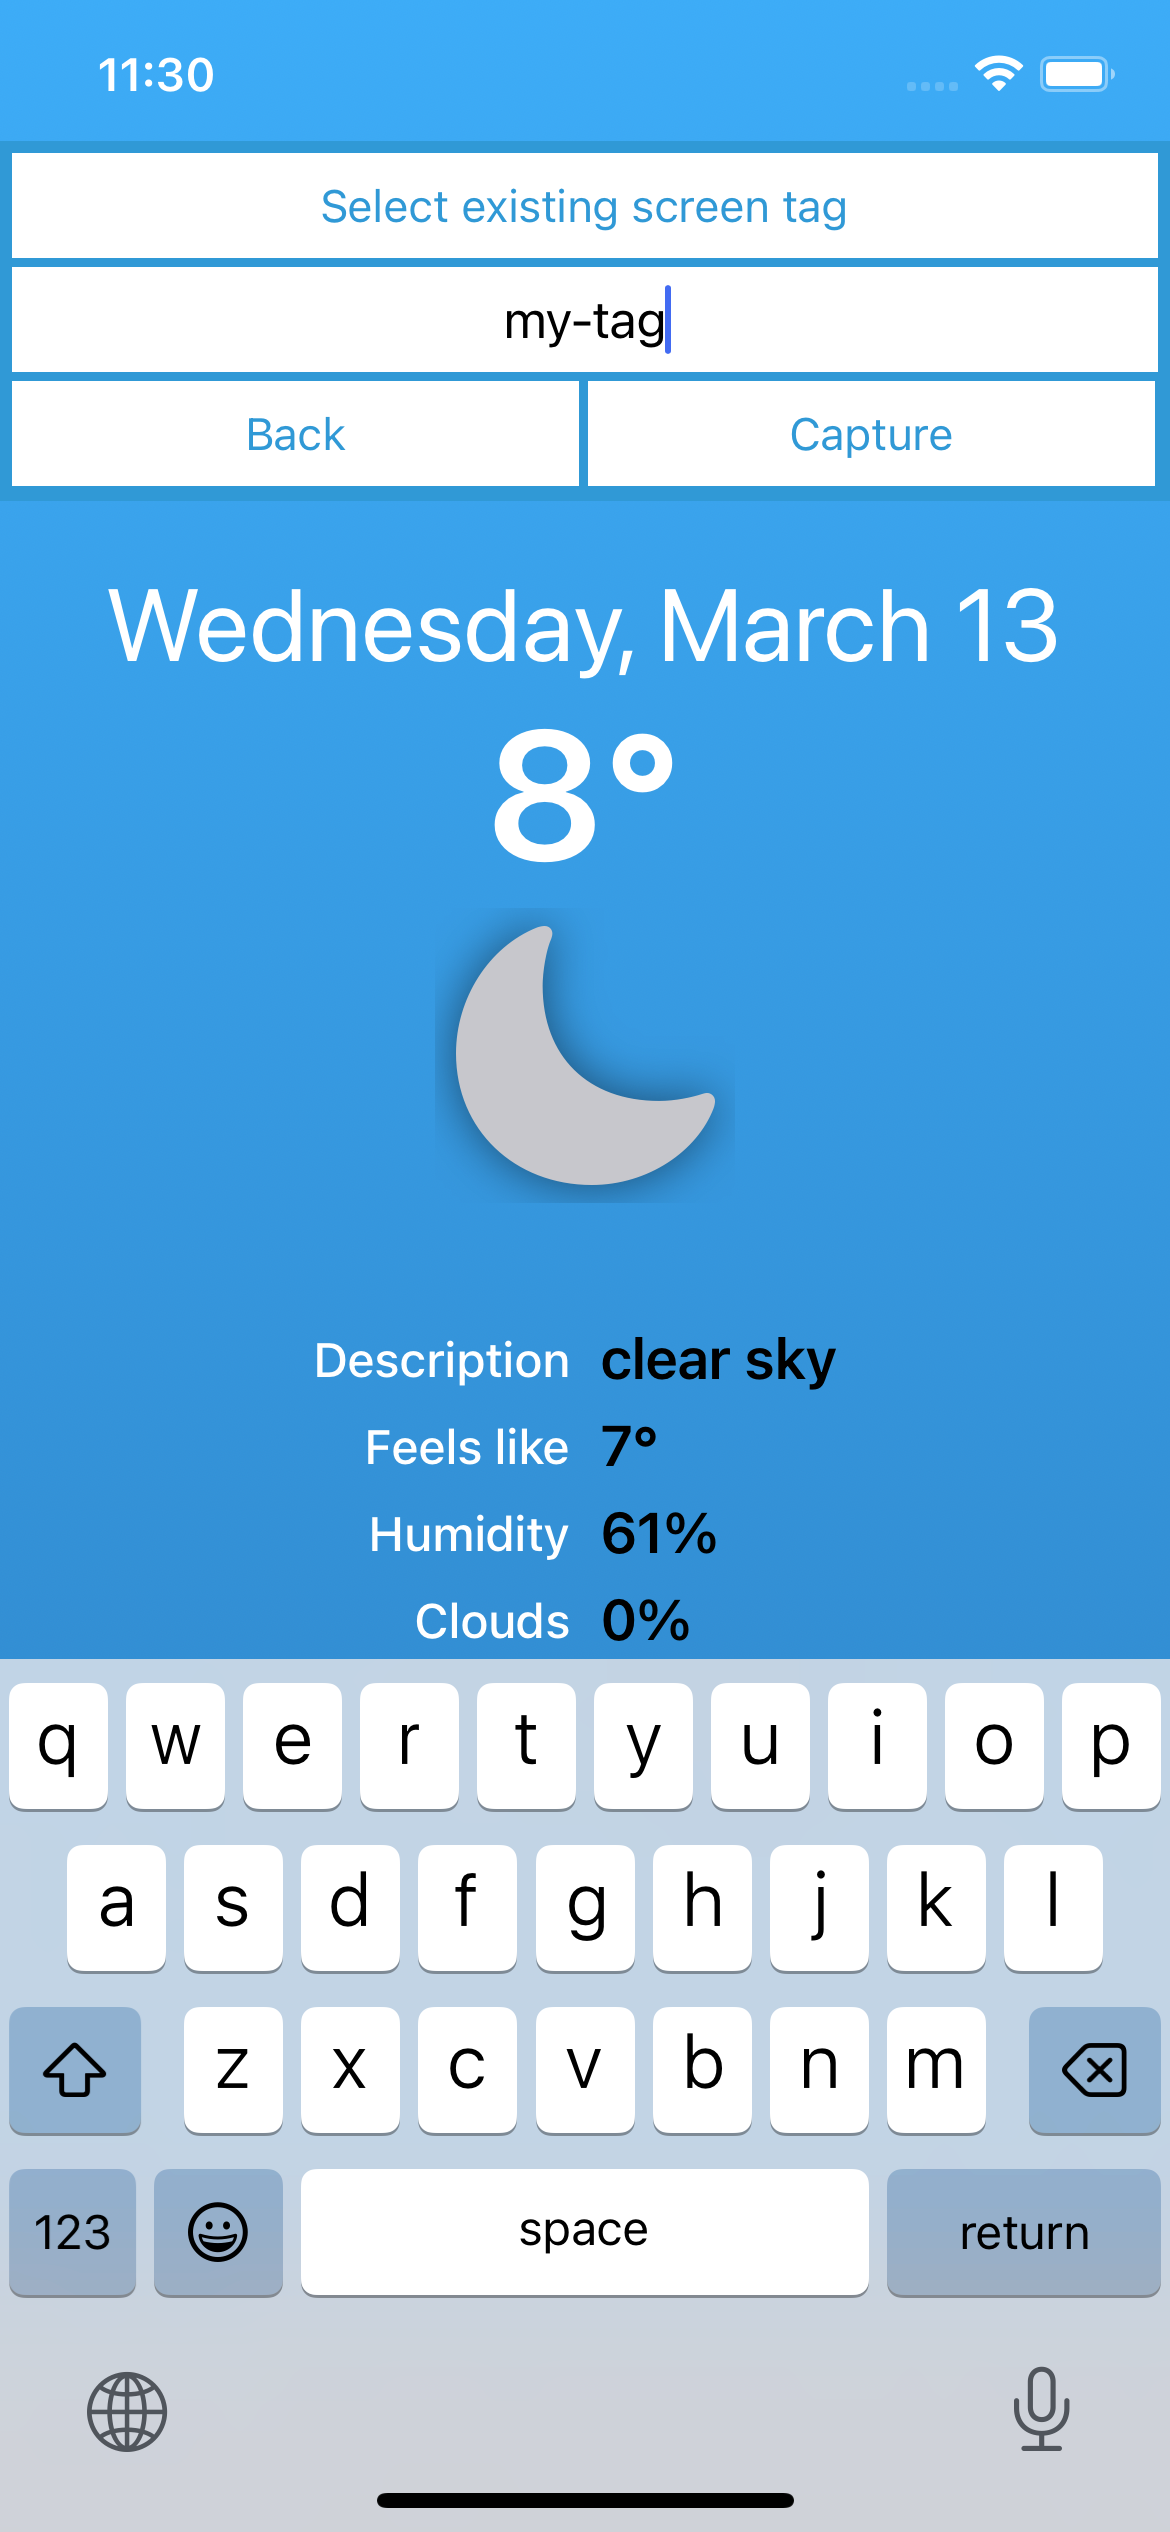
If an app already has native automated UI tests, users can simply add one line of code to the test scripts at the point where screenshots uploads are needed.
Follow the instructions outlined in the integration documentation to implement this option:
The Appium screenshot capture and upload is only available for SDK or CLI-integrated apps. By integrating Appium and GL Strings, the process can be streamlined. Users can re-leverage their existing Appium test scripts to upload screenshots to the connected GL Strings project.
See the Appium example projects on GitHub to learn more or see the GL Strings-Appium repo to get started.
This option is only available for GL Strings API integrated apps. See the GL Strings API documentation for additional details. The API screenshot upload process allows GL Strings users to send the string position as metadata along with the screenshot upload API route.
This option is only available to users with an Adobe XD, Figma, or Sketch integrated project using the GL Strings plugin. See the Localization at the Design Stage article and the Adobe XD, Figma, or Sketch Documentation for more information.
The GL Strings design plugin will import the strings as well as the strings’ position for each screen. GL Strings design tool plugin users can easily upload base language screens, translate within the GL Strings dashboard, then download translated strings to generate translated screenshots.