

This guide will show users how to connect with PingIdentity & PingFederate SSO to enable quick and easy sign on to Applanga.

As an Addon to the Applanga Enterprise tier you have the option to connect with custom SSO (Single Sign On) providers. Please get in touch for pricing details.
The following is an example if you want to use Ping Identity SSO.

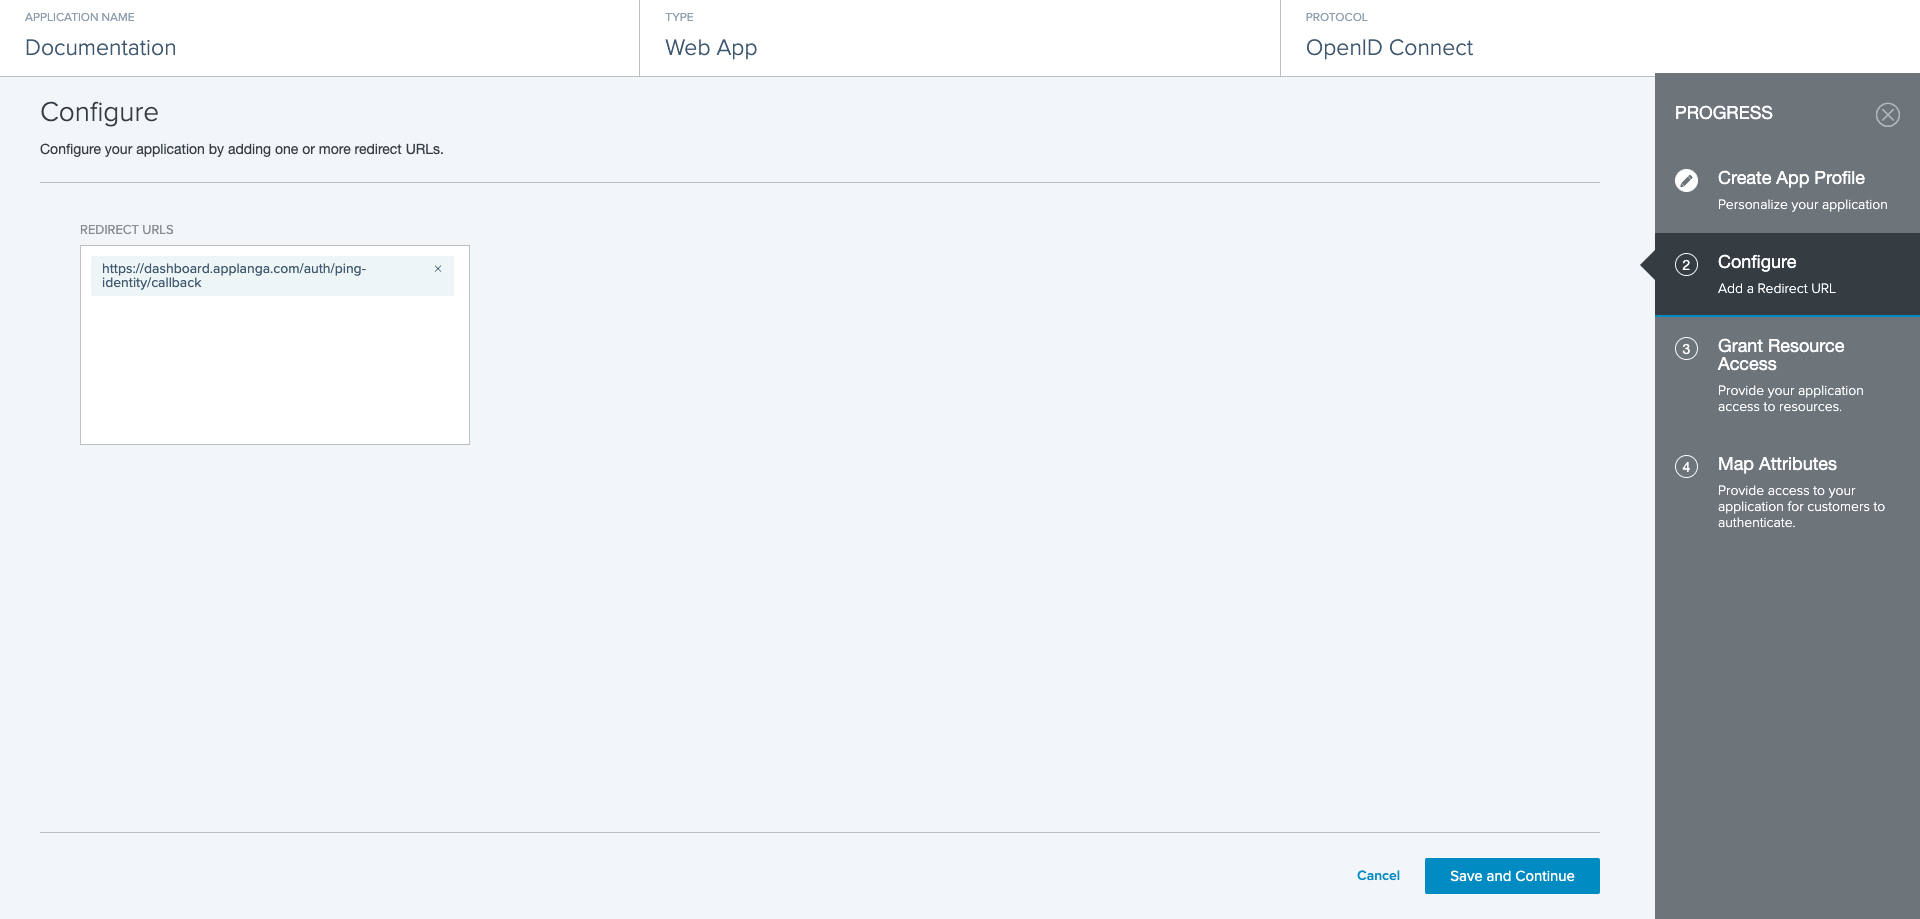
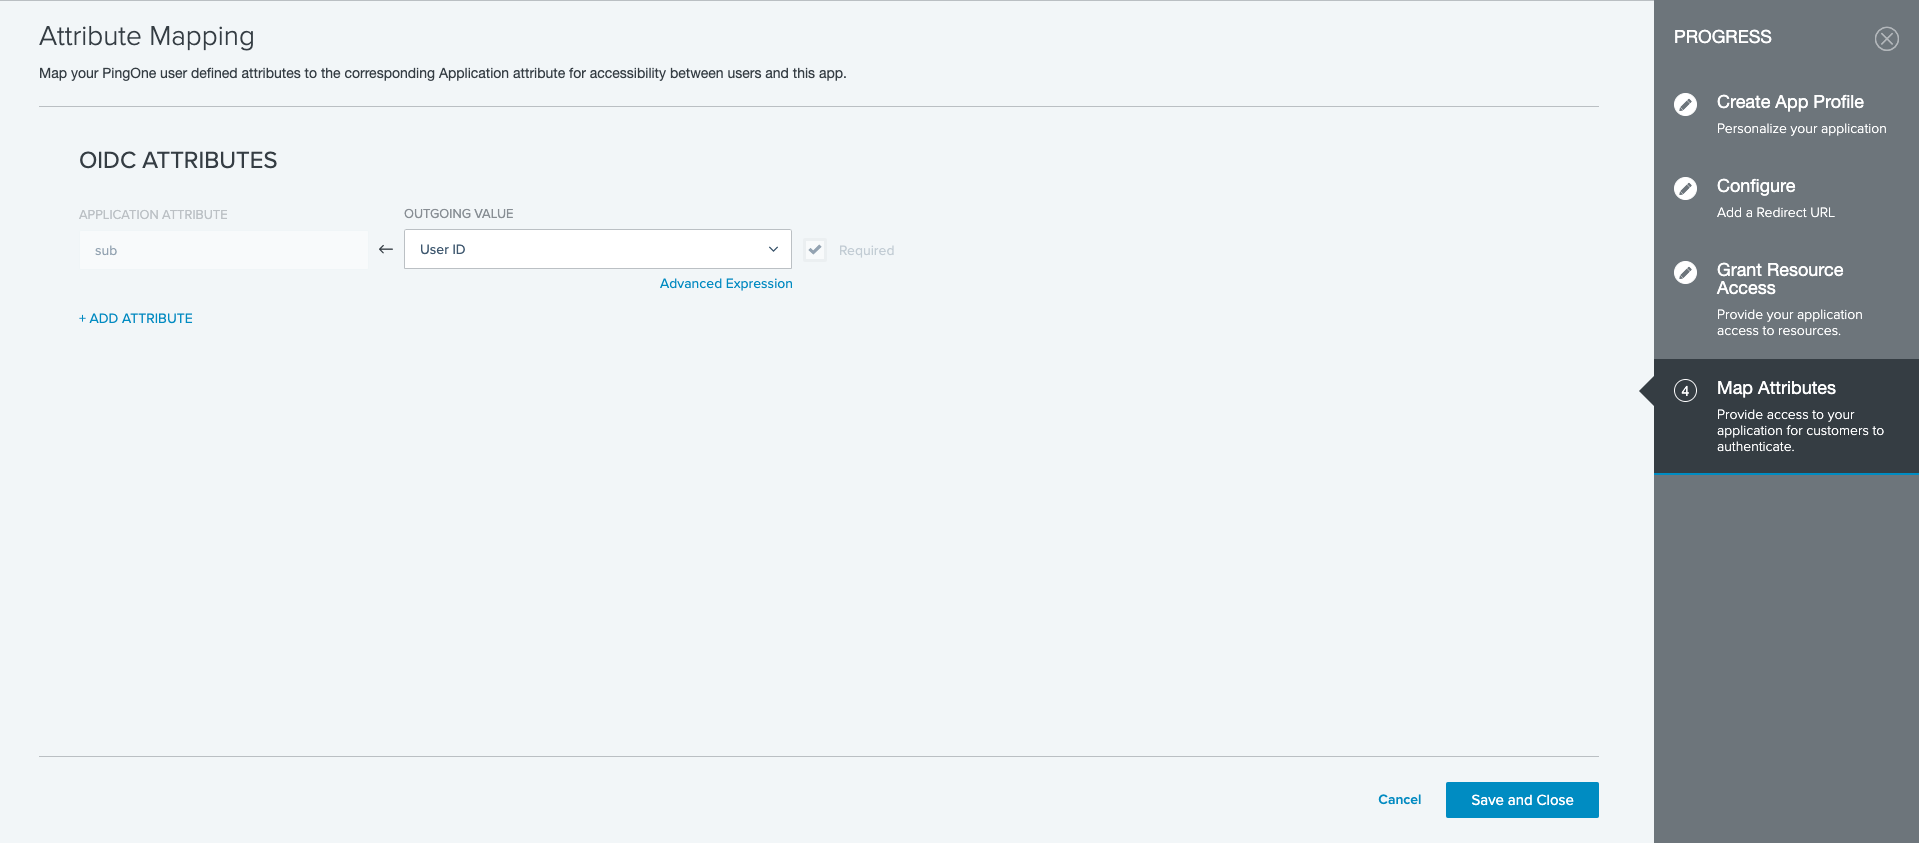


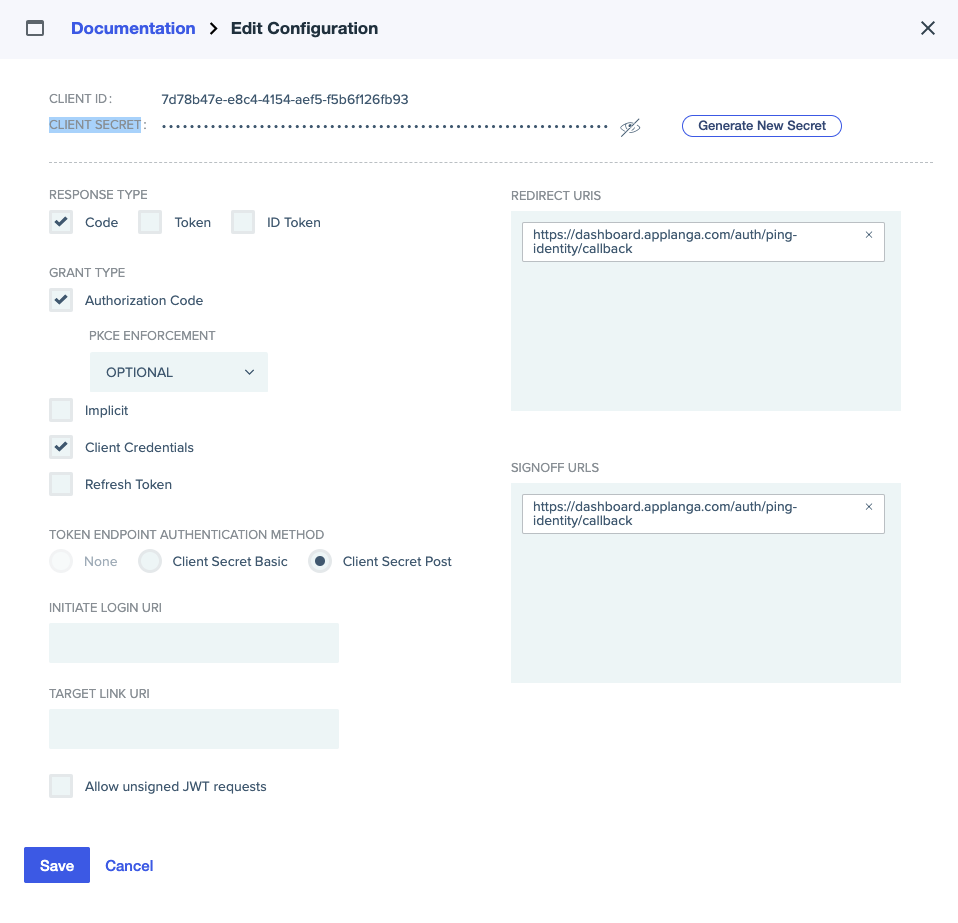
It contains your Client ID, Client Secret, Application environment ID, PingIdentity Domain, a list of domains that should be enabled for your Ping configuration and optionally a Session timeout which if specified will determine how long a login session should stay before users are required to login again. Alternatively and additionally you can provide a list of mail adresses if you want additional accounts to be added that do not belong to a domain.
Optionally, you can also provide list of teams and user roles. Every SSO user newly signing up in Applanga will be automatycally added to these teams with preset role. The user role and team assignment can be later modified.
The Applanga team need some time to test and deploy your configuration wich may take up to 2 weeks and will let you know once its available. If that change is urgent please let us know so we can expedite your request.
All signups that have been done prior to the configuration deployment will be automatically converted upon their next login.
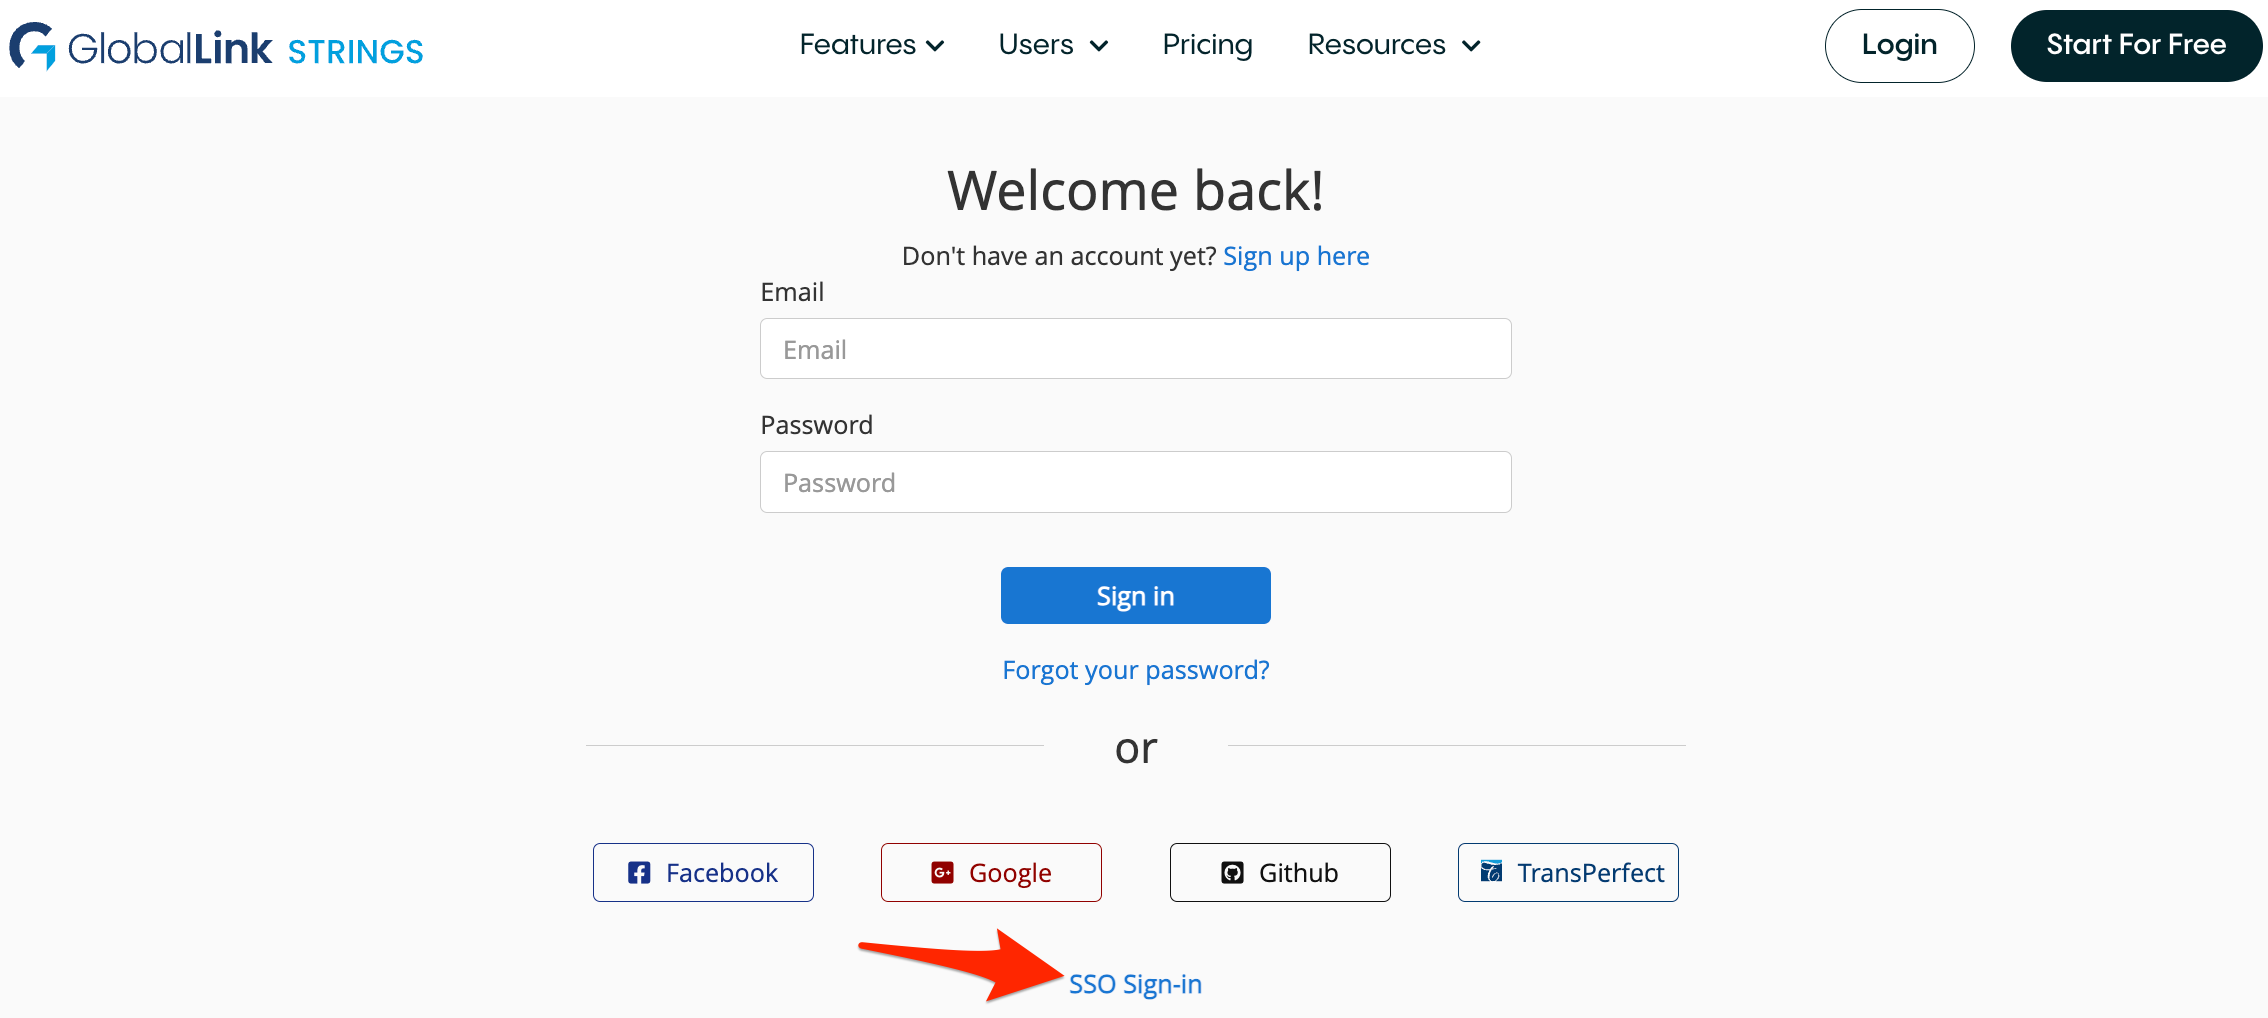
11. To login with Ping Identity or Ping Federate on the Applanga Dashboard click on the SSO Login link on the bottom of the login page. You will be redirected to the SSO login page. There, enter your domain or email adress. This will redirect to the PingIdentity login page. If you are logged in with you PingIdentiy account, you will be redirected back to the Applanga dashboard.

A guide for using Over-the-Air updates and pluralization with React-Native and Applanga
Read the Full Article
Are you wondering which keys stored in your Applanga projects are actually used in your app and which ones are just dead weight?
Read the Full Article