

The GL Strings Chrome extension facilitates the connection between the CLI integrated GL Strings project and the dedicated test environment for translation live preview. The live preview provides a web, in-context solution for linguists and reviewers. It allows linguists to quickly review translations while simulating the same experience as a web app’s end-user. For more information on using the web live preview, see the documentation here.
includeInvisibleId command in the target configuration.
includeInvisibleId command in the target configuration to get the right files for your web app. To see some example Cli configurations for popular web frameworks see the Examples section.❗ Important Notes
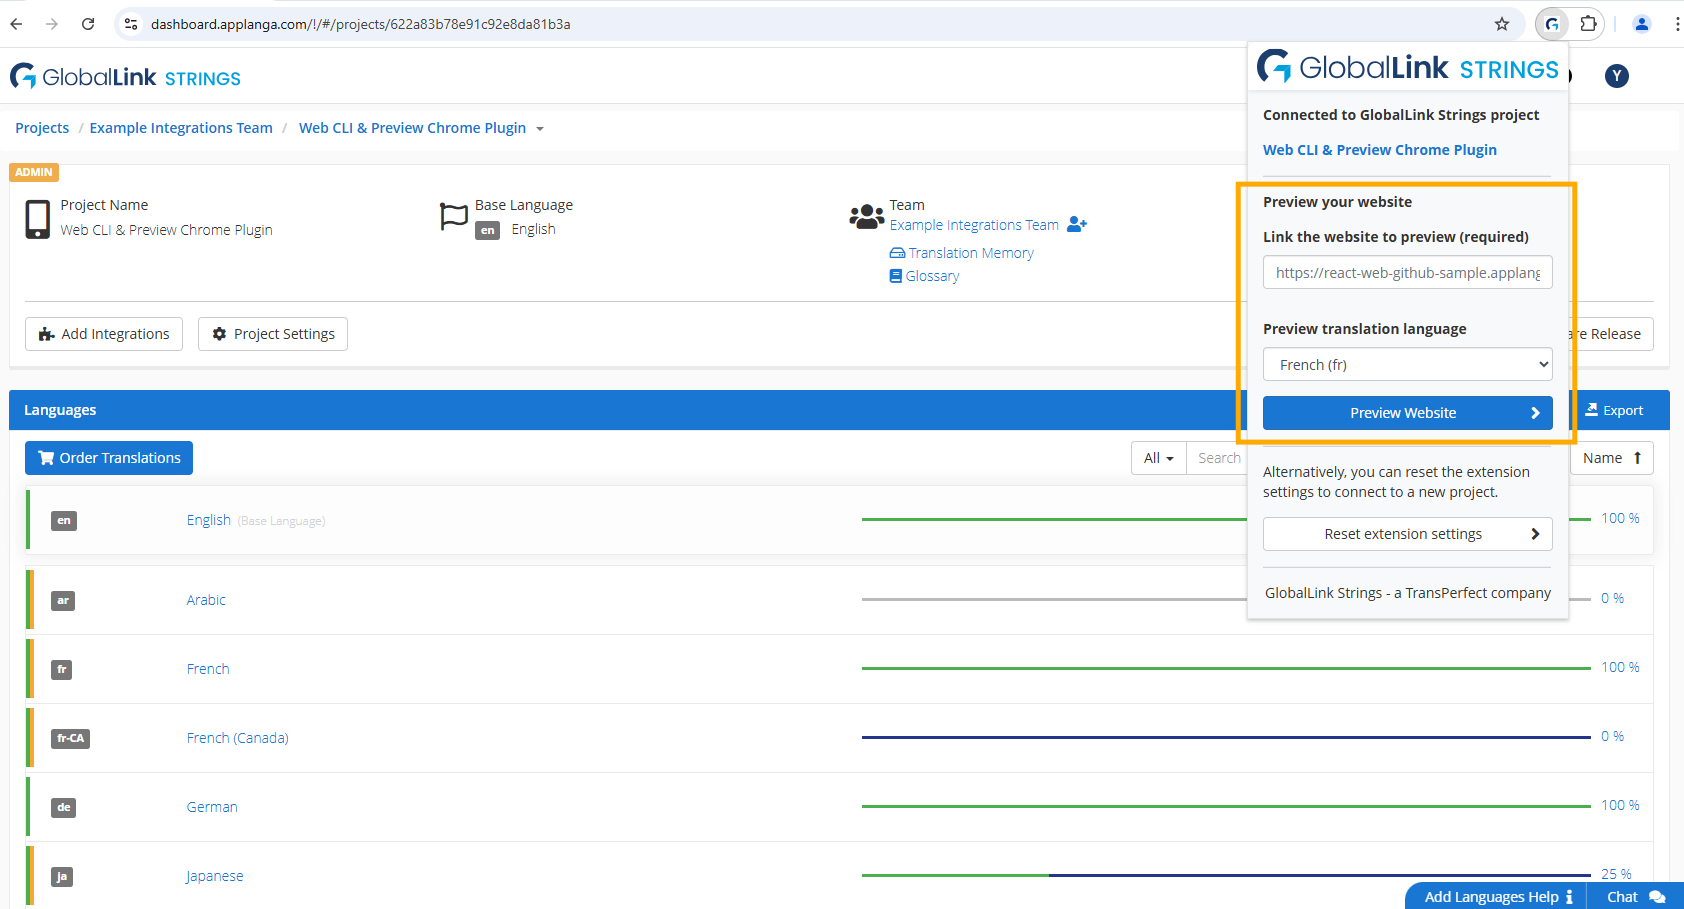
📝 Note: To switch languages, open the Chrome extension in either the project tab or the Preview tab and use the Preview translation language dropdown to select another language.
While the extension is connected to the project, users can open the project tab and navigate to any language/entry to edit and preview changes. All changes to target translations will be immediately viewable via the extension in the Preview tab.

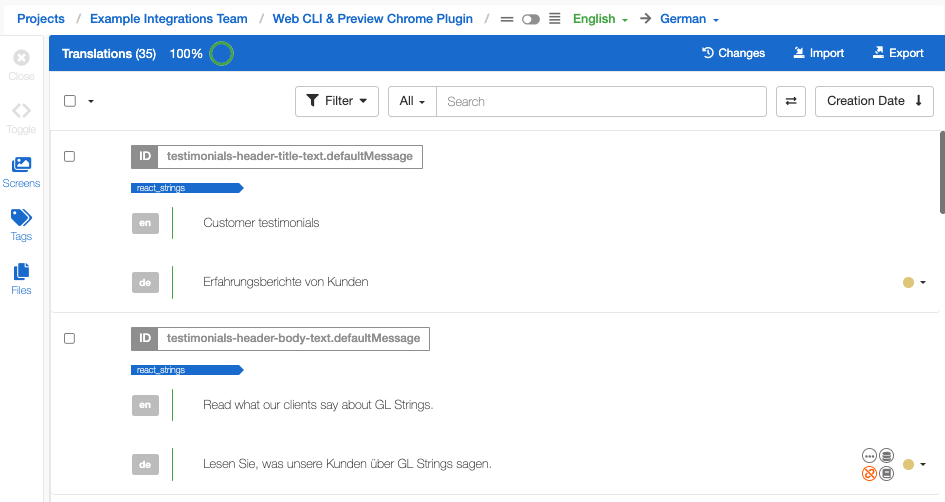


📝 Note: Generally, variables (indicated by grey highlighting in the Editor) should not be edited.
Right to left languages (such as Arabic) are currently not supported and will default to the source string.
❗ Important Note
Our data is cached to help improve overall performance. Ideally, you start the extension before making any edits in the GL String Editor if you’re intending to reference the extension. If entries were recently changed in the GL Strings project before starting the extension, the data may still be cached. You can either:
These are minimal example configurations to pull your data from GL Strings and setup your project to be usable with the GL Strings Chrome Extension. If you need a more advanced setup please refer to the CLI Integration Documentation.
{
	"app": {
		"access_token": "<your access token>",
		"base_language": "en",
		"pull": {
			"target": [
				{
					"file_format": "angular_translate_json",
					"path": "./locale-<language>.json",
					"includeInvisibleId": true
				}
			]
		}
	}
}
{
	"app": {
		"access_token": "<your access token>",
		"base_language": "en",
		"pull": {
			"target": [
				{
					"file_format": "nested_json",
					"path": "./<language>.json",
					"includeInvisibleId": true
				}
			]
		}
	}
}
{
	"app": {
		"access_token": "<your access token>",
		"base_language": "en",
		"pull": {
			"target": [
				{
					"file_format": "react_nested_json",
					"path": "./<language>.json",
					"includeInvisibleId": true
				}
			]
		}
	}
}
{
	"app": {
		"access_token": "<your access token>",
		"base_language": "en",
		"pull": {
			"target": [
				{
					"file_format": "ruby_on_rails_yaml",
					"path": "./<language>.yaml",
					"includeInvisibleId": true
				}
			]
		}
	}
}