Integrating Applanga for your iOS app is a remarkably easy and quick process. There are just a few things that you need to do with any iOS app before you’re able to add translations. Just follow these small steps and you're on your way to localizing your iOS app!
To start off, you need to place all the app's translatable strings in a .strings file and then call NSLocalizedString in your code to assign each string by their ID.
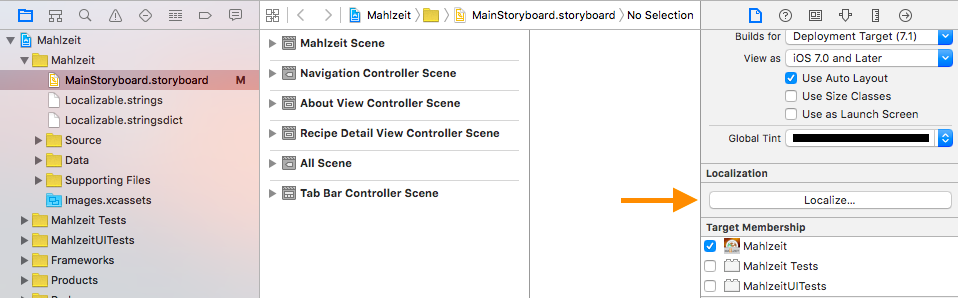
If your app uses Storyboards, then you need to have “Localization” enabled. That way, Applanga will automatically find any Storyboard strings when you open a view.
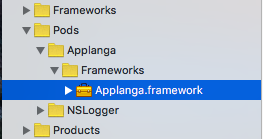
Next, in order to integrate the Applanga SDK into your iOS app, you need to reference the Applanga.framework.
To do this, open the Podfile of your app and add Applanga by typing “pod ‘Applanga’”.
Then, type “pod update” in the command prompt or terminal to download the latest version of the framework. If you are not using CocoaPods, you can download the framework directly from github.

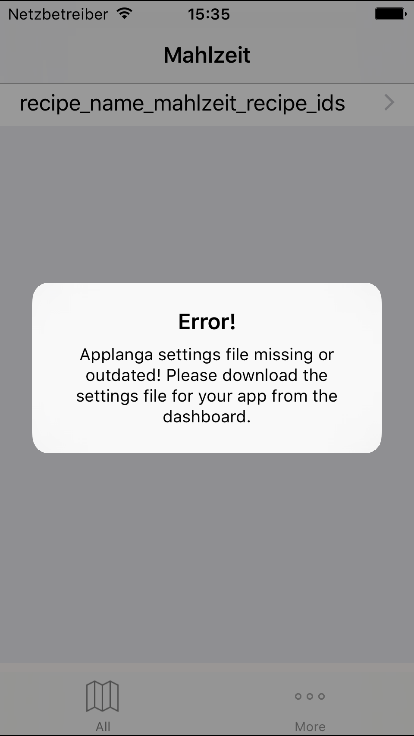
Now if you rebuild your app, you’ll see a reminder that you need to add the Applanga Settings File.
The Applanga Settings File combines two features:
First, it is part of the regular integration and stores a unique identifier and some configurations to reduce the manual integration effort.
Second, all translations on the Dashboard are saved into the Applanga Settings File.
Always include the latest version of the file within the build that you submit to the app stores to ensure that the translated content is available. If your users have insufficient internet connection for live updates, the SDK will revert to the translation inside the Applanga Settings File on the device.
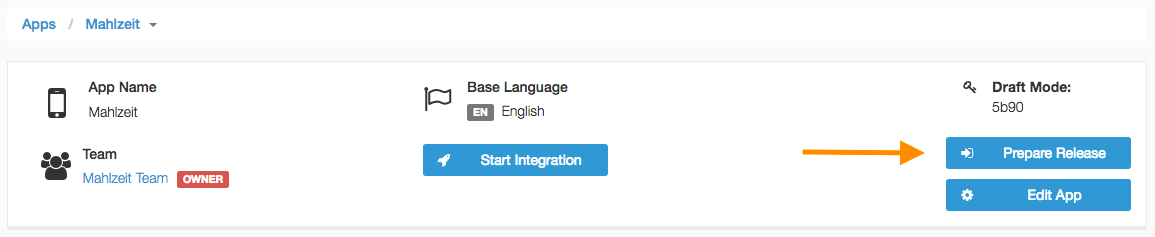
You can download your Applanga Settings File within your account on applanga.com. If you haven’t already added an app, do so, click 'Prepare Release' button and then download the Applanga Settings File.

Add the downloaded Applanga Settings File to your app folder and rebuild the app.
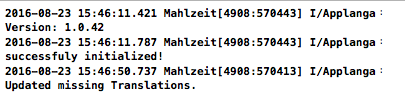
If you see the log message “I/Applanga : successfully initialized!”, Applanga has been successfully integrated.
A few seconds later, you should also see the message “I/Applanga﹕ Updated missing Translations.” That means all found strings have been uploaded to the dashboard.
Now, if you check the Applanga dashboard, you should see all the app’s strings and that you can modify them.
To make sure the Applanga SDK is successfully integrated, go ahead and change one of the strings on the Dashboard and then check the modified string upon restarting the app.
That’s it! You successfully integrated the Applanga SDK. From now on, if you add new strings or views to your app they will be automatically synchronized with the Applanga Dashboard.