

How to work with GL Strings as a tester
When logging into GL Strings, you will see a list of projects where you have been added to the team as a tester under “Shared Projects”. Access the project, then the language you are testing.
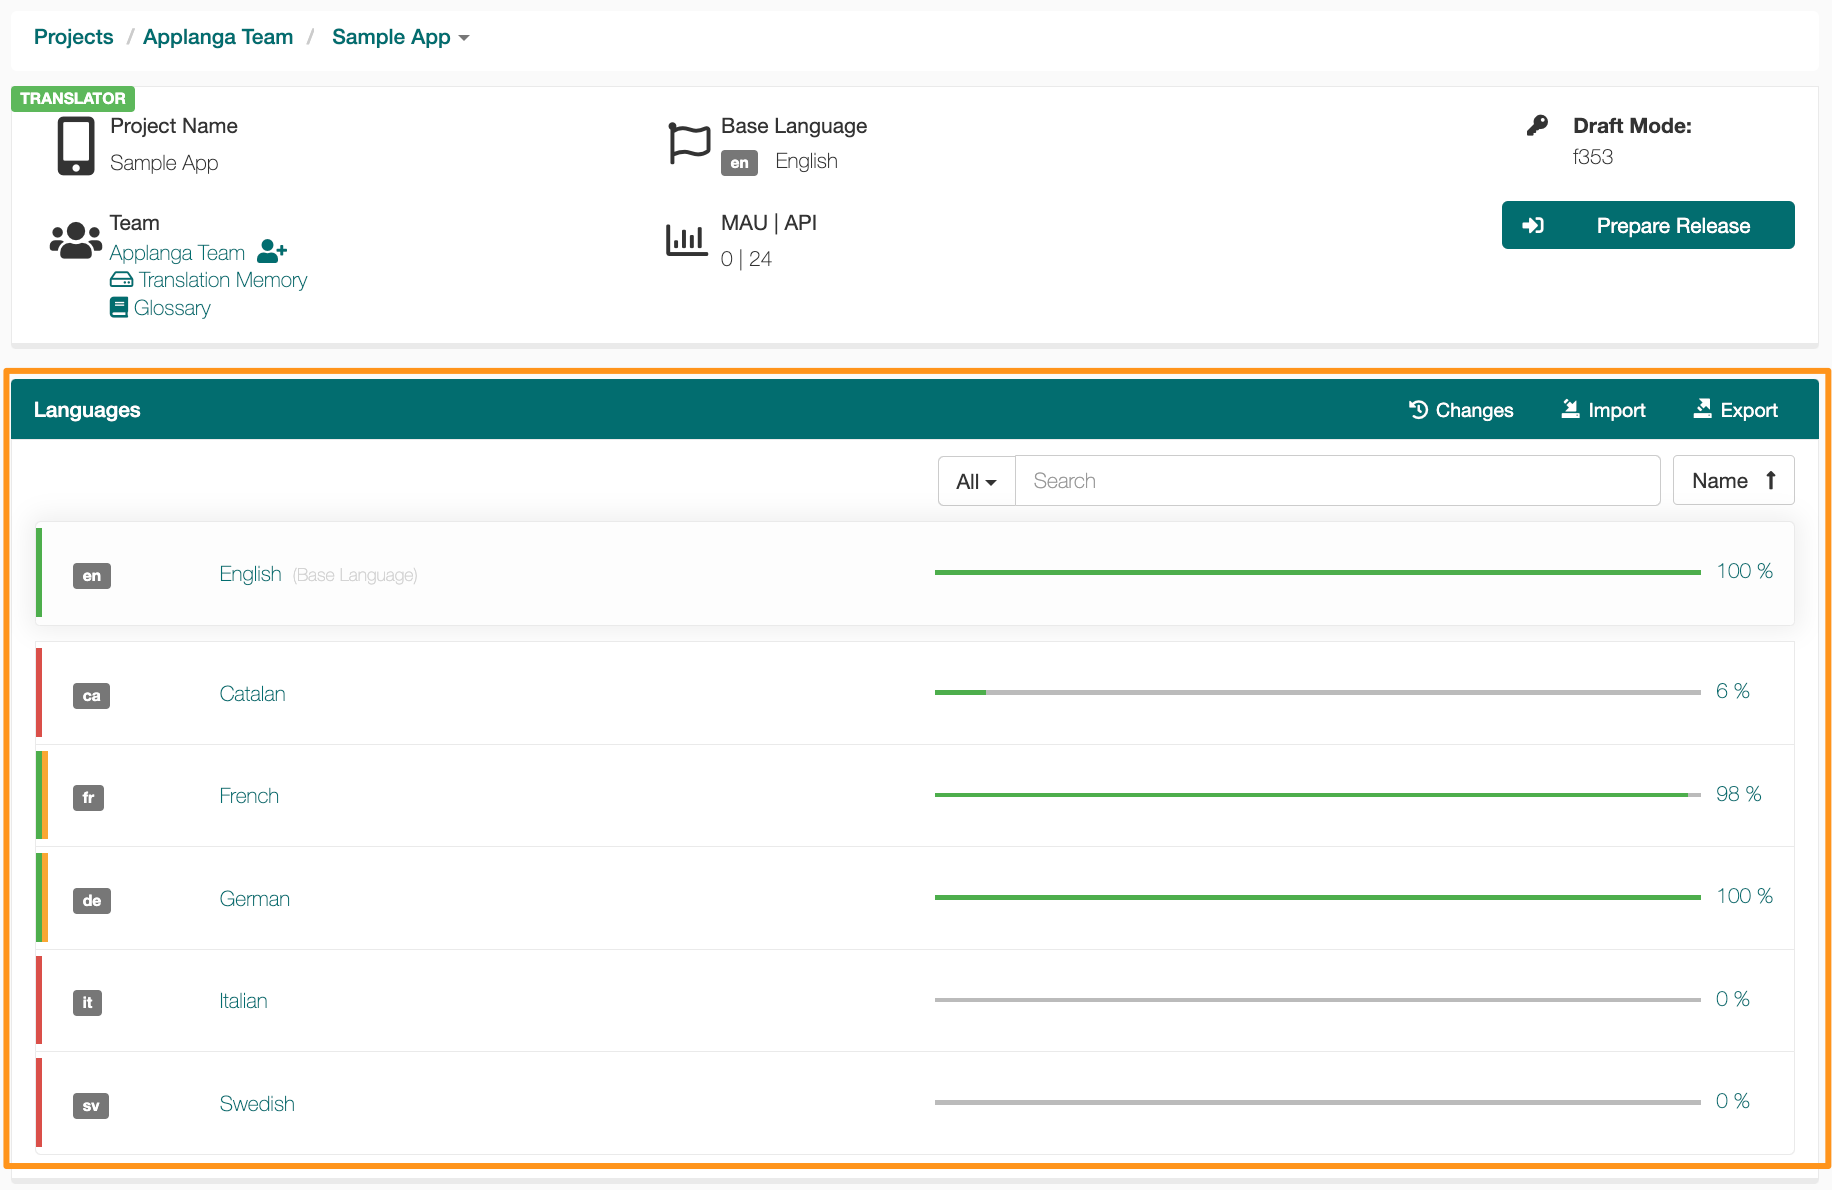
Every string on GL Strings can have either each or both translation states: Draft in yellow (1) and Target in green (2).

Target values are translations already approved and published to the app. With the GL Strings SDK integrated, that means, what’s in the Target field is currently visible to the end-users of the customer's app. As a tester you will have the “Tester/ Reviewer” user role and won’t be able to edit Target values.
Draft values are newly proposed translations either translated internally or delivered to the customer via TransPerfect translation services. If not instructed otherwise all current Draft values are in scope for testing.
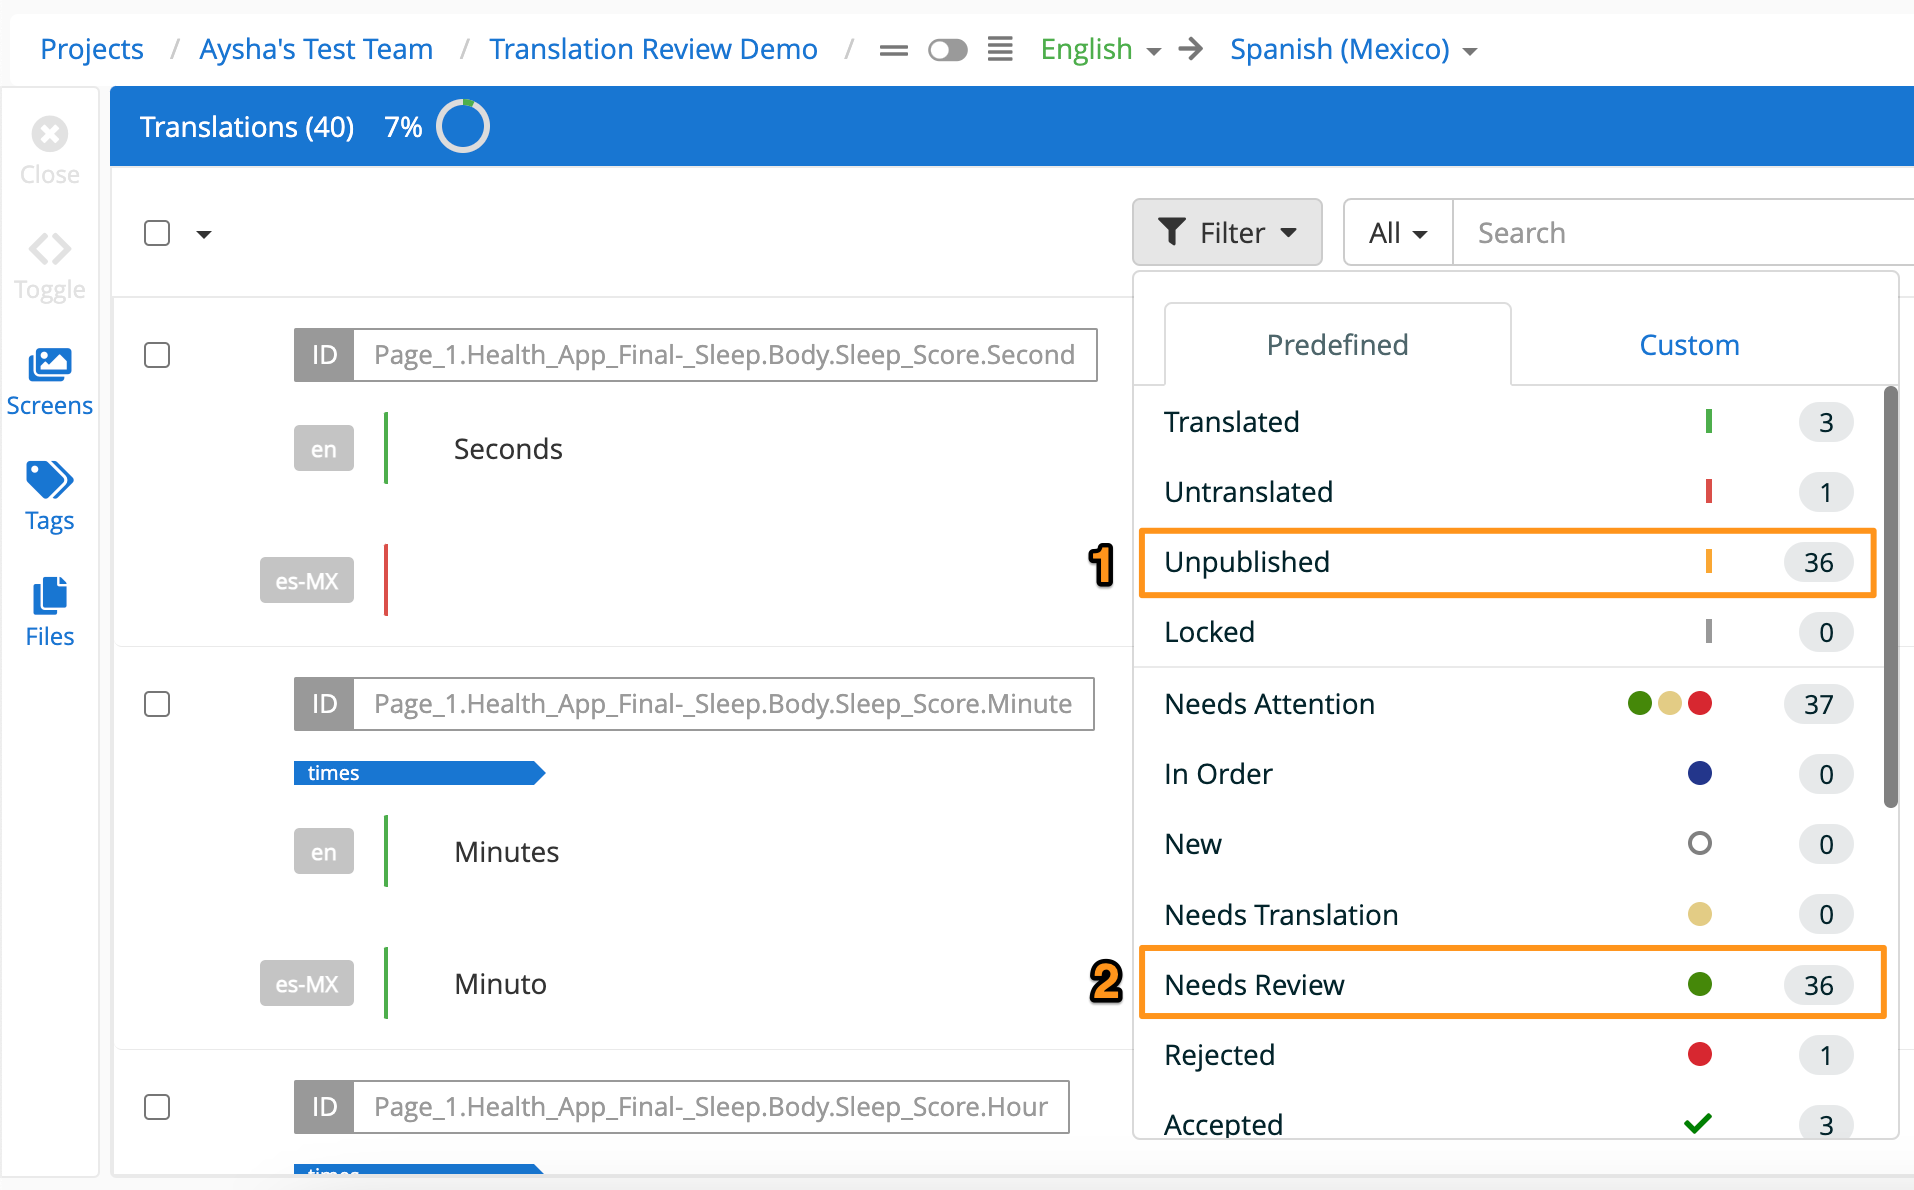
You can make sure to only see all those entries with Draft values by filtering just for those entries with “Unpublished” (1) translations. In some cases, strings might have been already published prematurely and no or only a few Drafts are available. In those cases the scope should be extended to all strings in the “Needs Review” (2)
The GL Strings Draft mode allows you to preview Draft translations directly in the app. Since you have been provided a test build of the app, you can activate the Draft mode for this app.
Open the app, press with four fingers on the screen for 8-10 secs and a pop-up will appear. Here you can log in into the Draft mode. Enter the Draft mode key that you can find in the GL Strings dashboard in the project overview, top right.

After entering the Draft mode, the app will restart and now show you the Draft values that are on GL Strings. Make sure your phone is set to the language that you want to test.
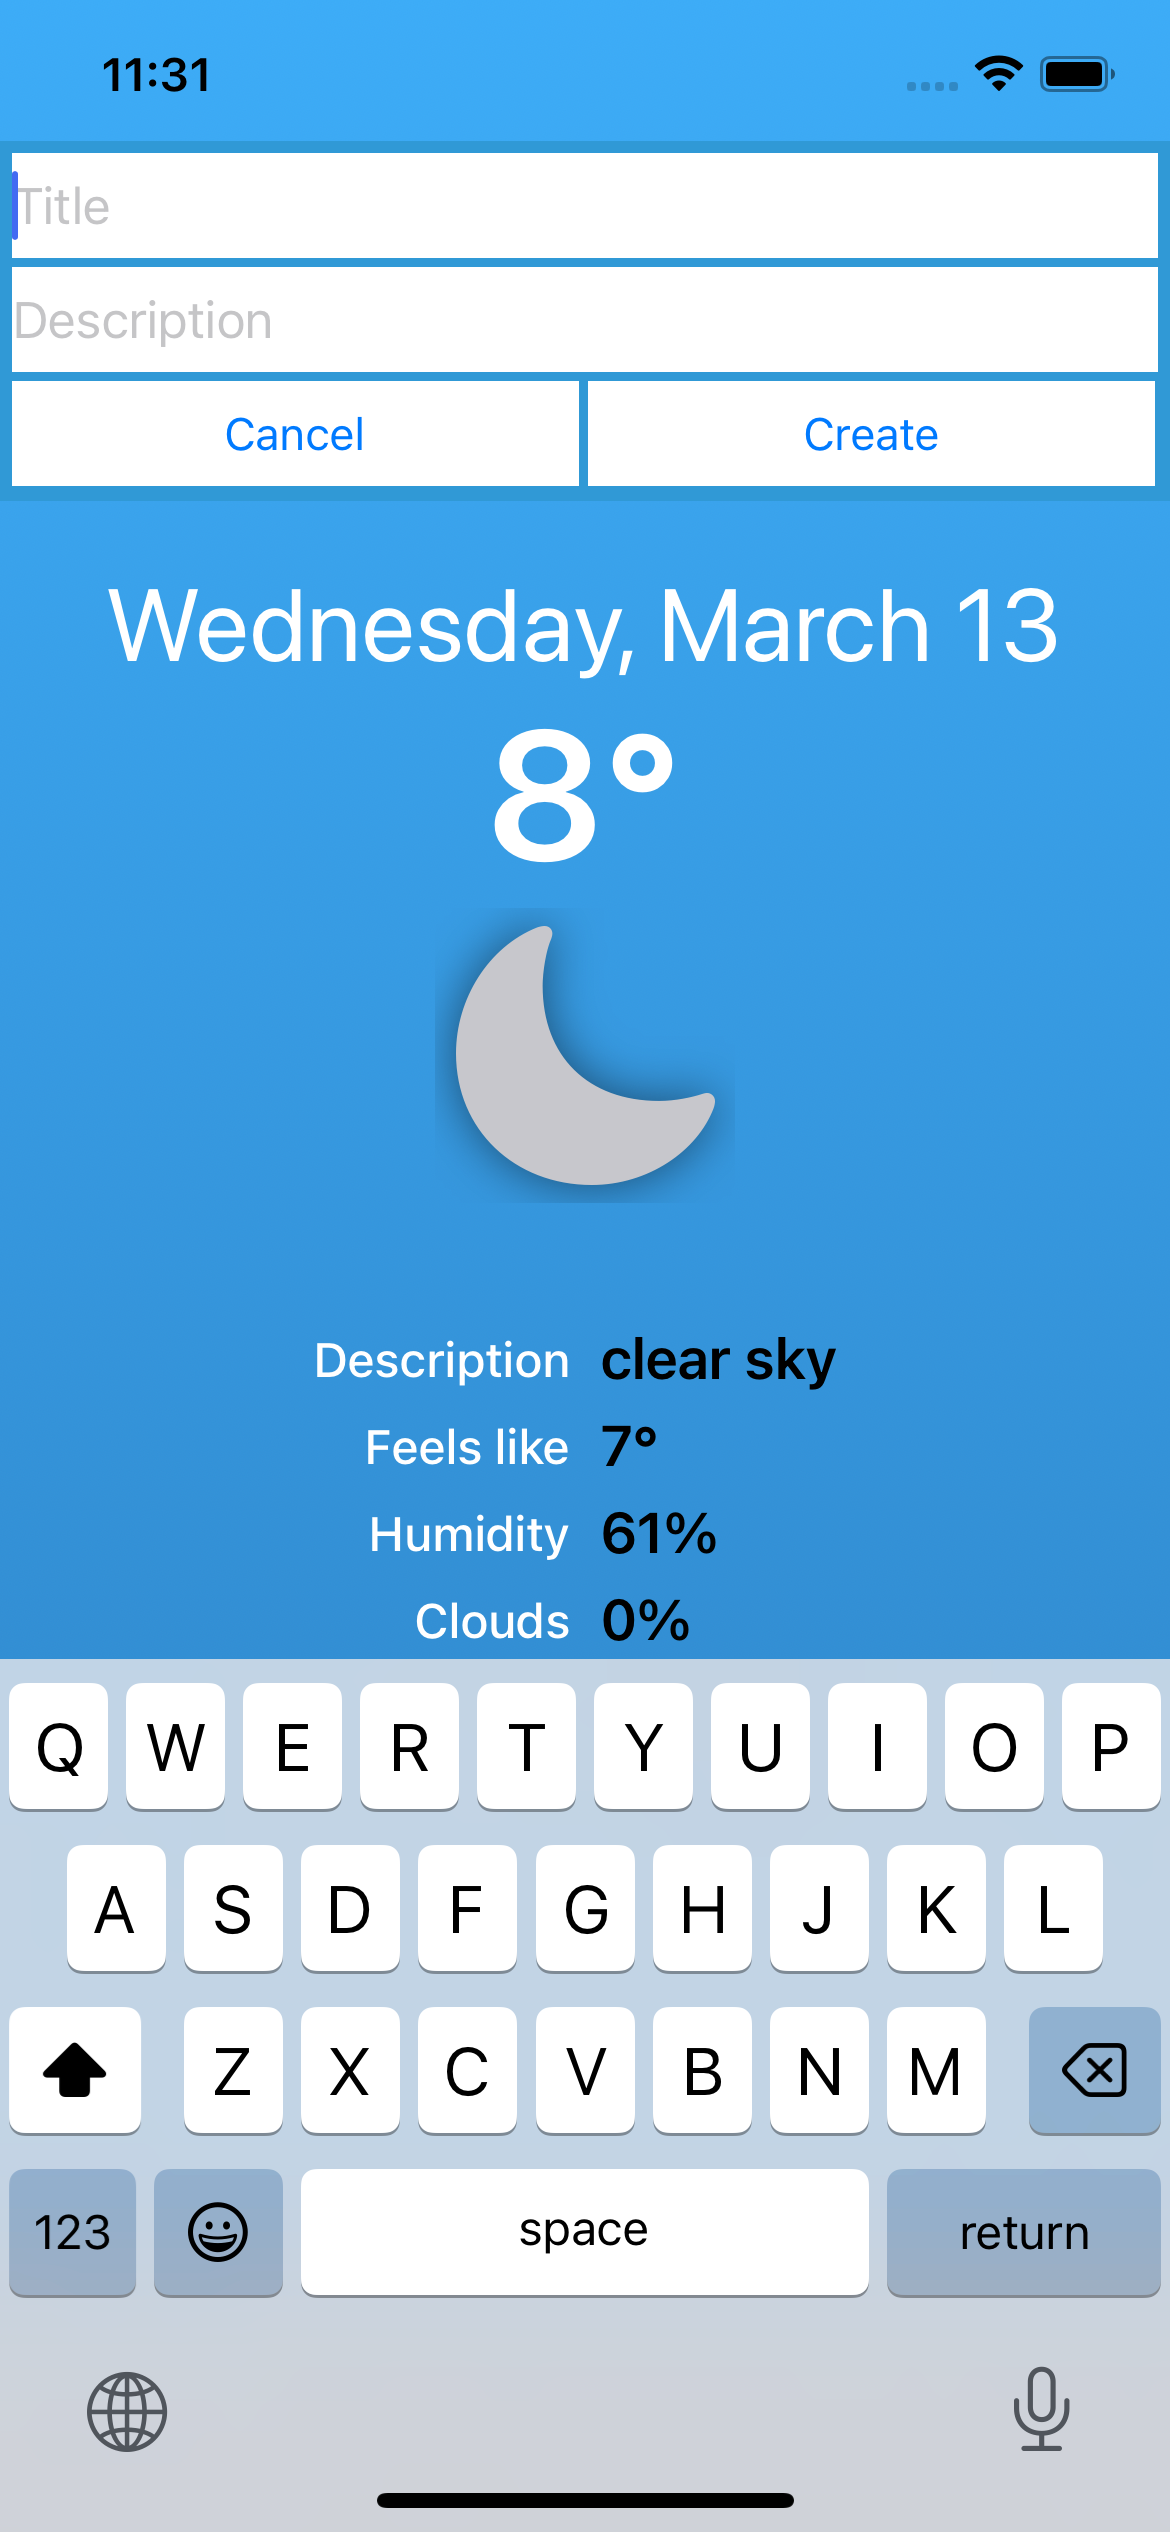
Here is how you can change the device language if that should be necessary.
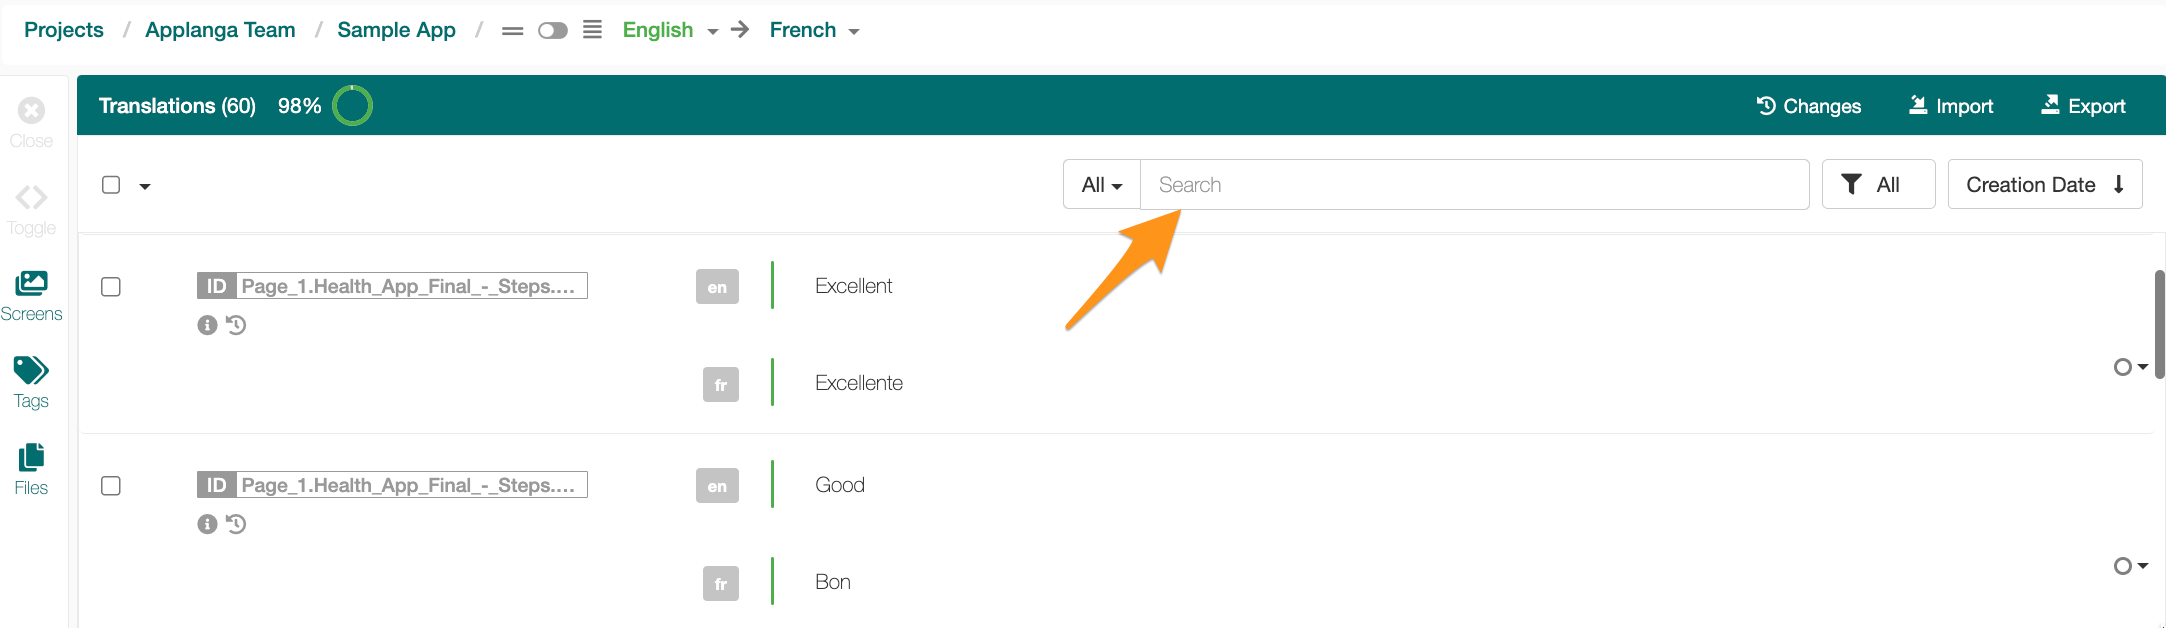
If you encounter a linguistic issue, you can simply access the string in the GL Strings Editor interface and change the Draft value as you see fit. You can use the search functionality in the upper right corner to find any particular string.
To edit draft translations, simply click directly on the text, update, then click save.

With the GL Strings Draft active, whenever you completely restart the app, the translations in the app are always the latest version of the Draft values on the dashboard. You change a Draft on GL Strings, you restart the app in Draft mode, the change you made will be visible in the app (after 10 minutes max).
For all linguistic issues you fixed on GL Strings by editing the Draft, you can immediately do a regression test simply by restarting the app in Draft mode and navigating to the affected view.
With the GL Strings Jira integration, users can create Jira tickets from inside the app during the testing run (please confirm this functionality is available with the Testing manager).
When the Draft mode is enabled, swipe down with two fingers to activate the draft overlay whenever you encounter a functional issue which can’t be fixed by editing the Draft value(s) on GL Strings. Press Create Issue and add a ticket title and an issue description
A Jira ticket created this way will automatically include a screenshot of the affected screen and a link to GL Strings for the strings found on that screen.
On GL Strings, a tag for the Jira ticket is created, the screenshot is attached to this tag and all strings found on the screen when the ticket was created are tagged accordingly.
📝 Note: Not all strings might be found automatically.
