

How to Work with Workflow Statuses and Rules
GL Strings supports workflow statuses and rules to help manage translation workflows. Both features exist at the team level and are applicable to all projects under the same team.
There are two types of workflow statuses: pre-defined statuses and custom workflow statuses.
Pre-defined statuses are available by default in every GL Strings team and can't be deleted. The Pre-Defined statuses include: Needs Translation, Needs Review, Accepted, and Rejected.
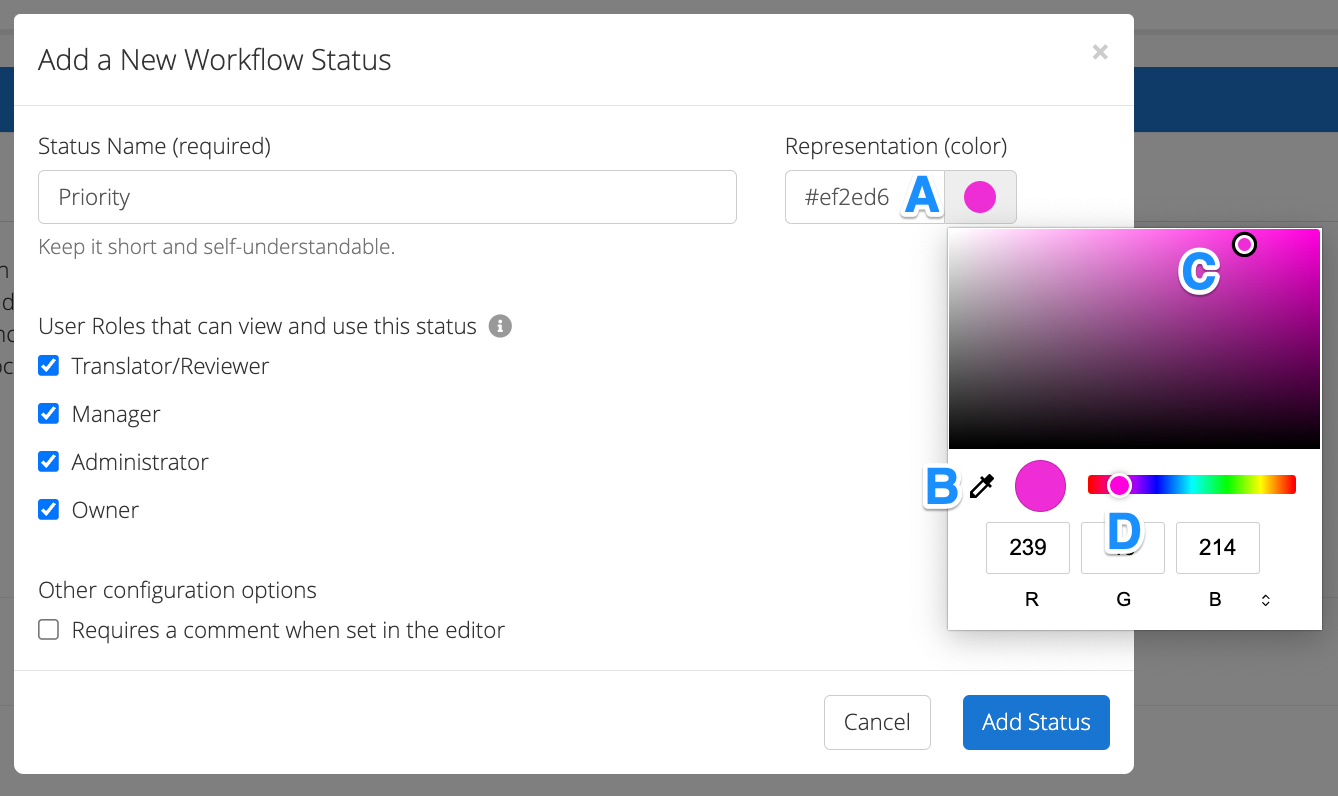
Custom workflow statuses can be added at the team level in addition to the pre-defined, default statuses. They can be edited or deleted at any time.
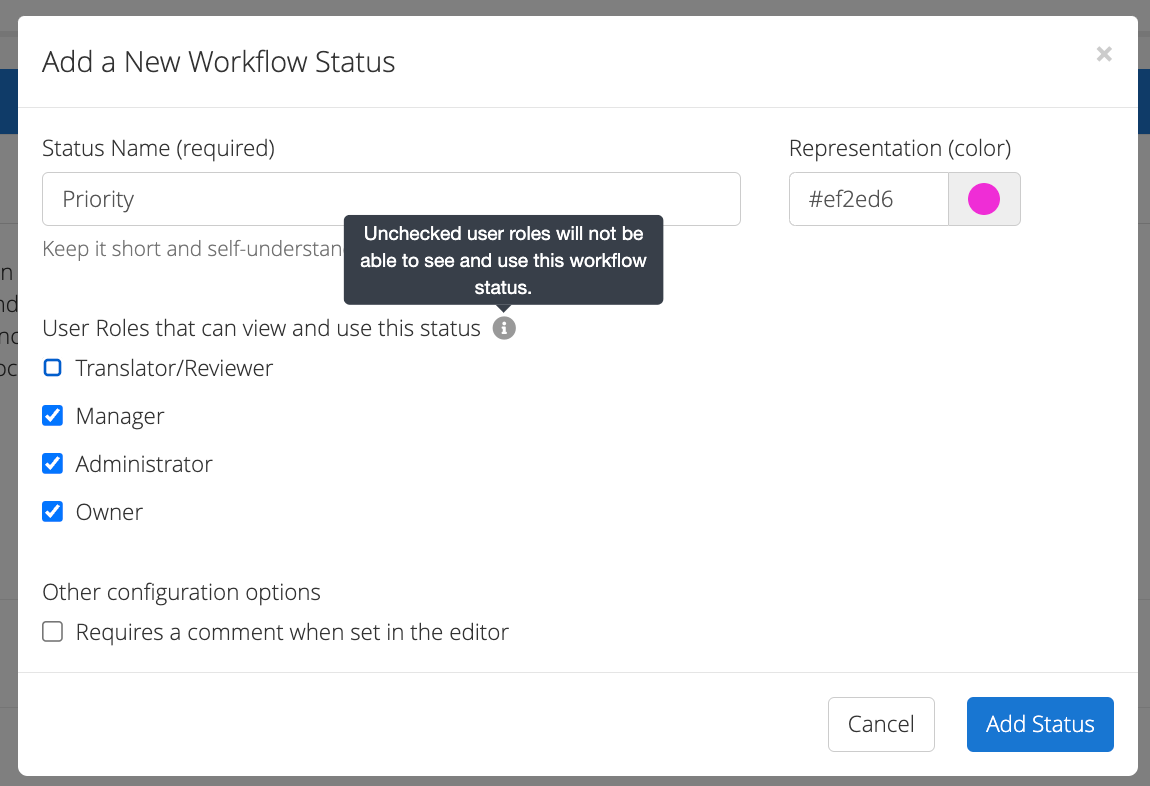
Both types of workflow statuses can be configured to require comments and/or make them visible to specific user roles.
Rules are used to automate certain steps in the translation workflow and they can be applied to strings and screenshots.
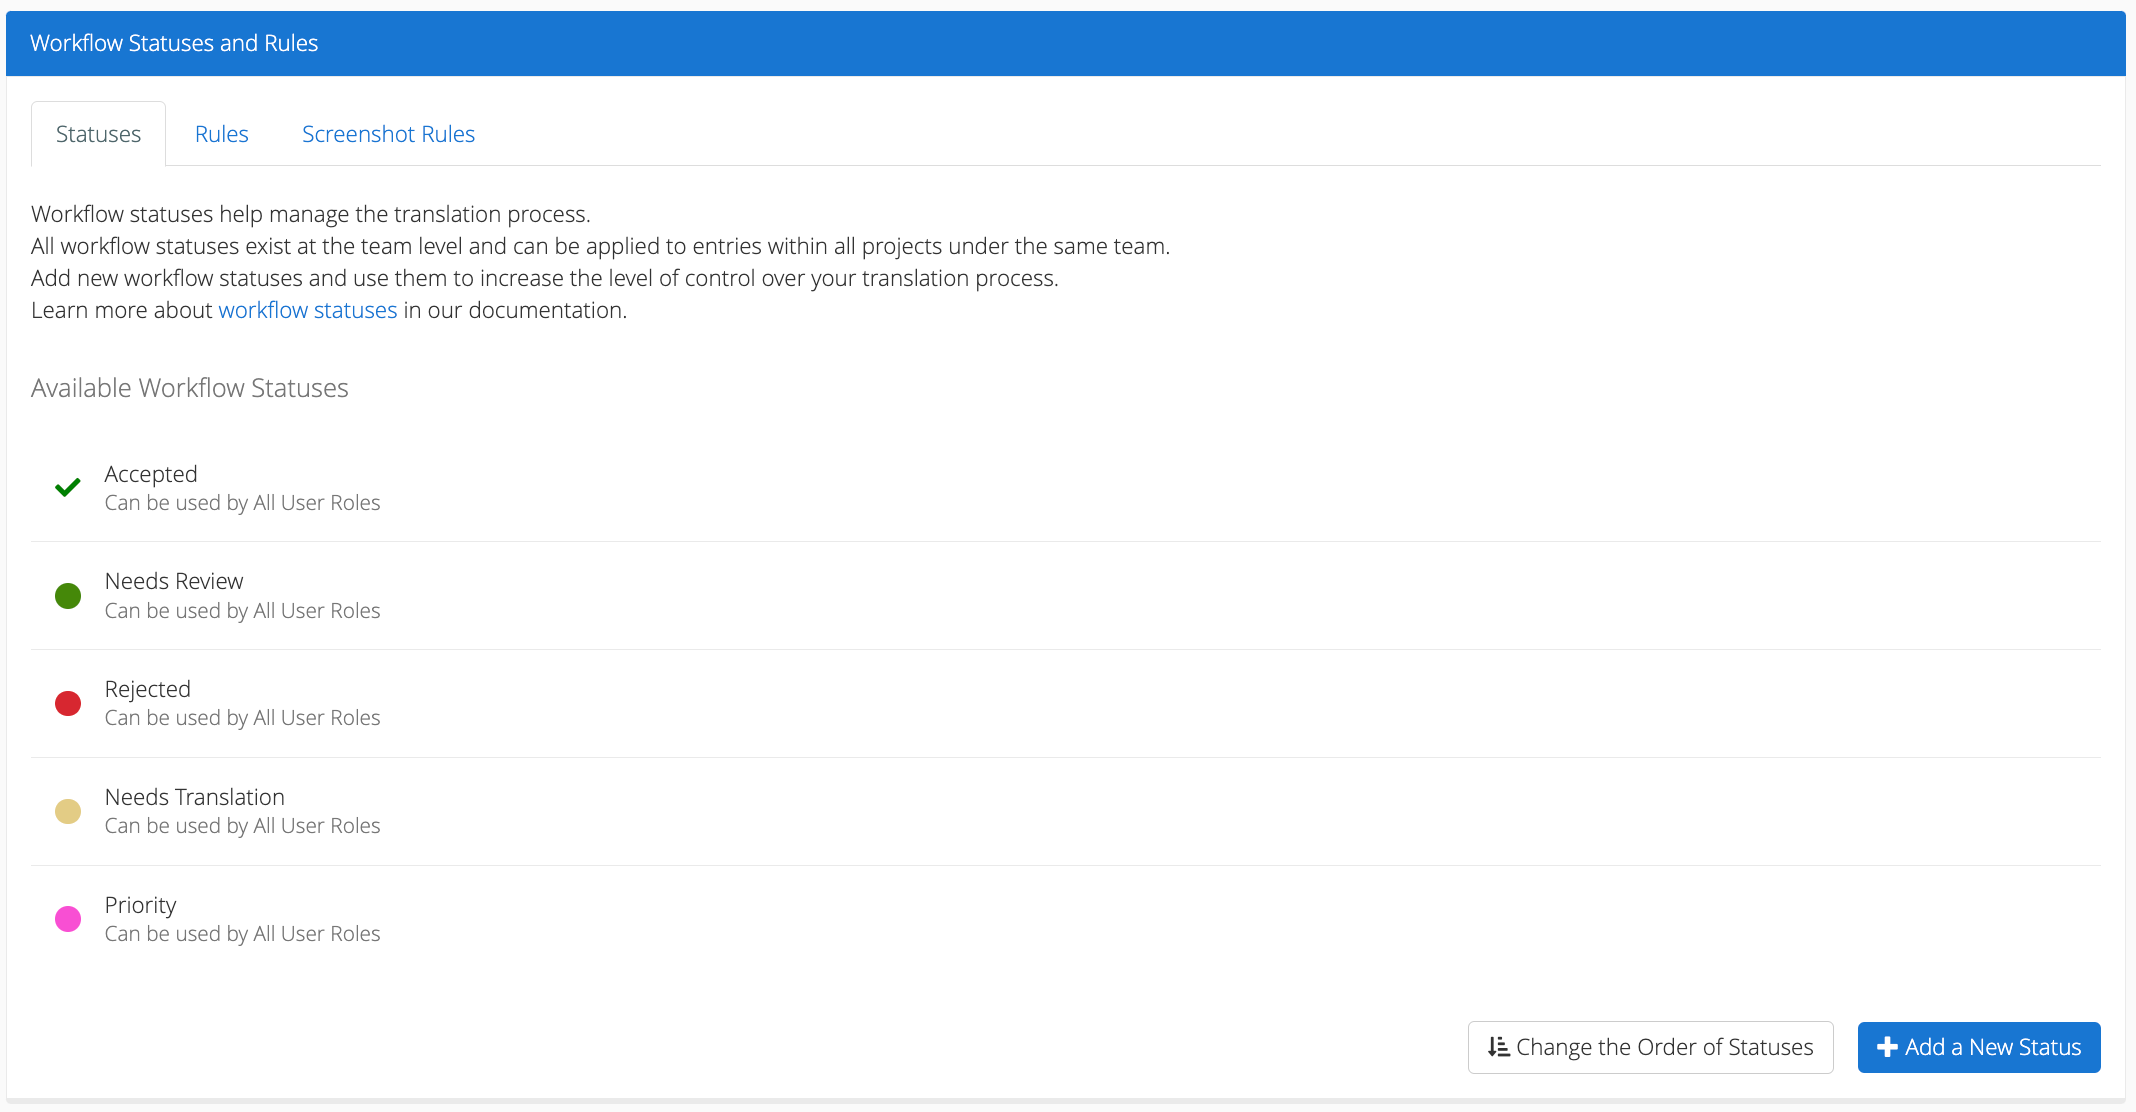
Navigate to the team's page and scroll to the bottom towards the Workflow Statuses and Rules panel.
To add a custom workflow, click Add a New Status in the Workflow Statuses and Rules panel.
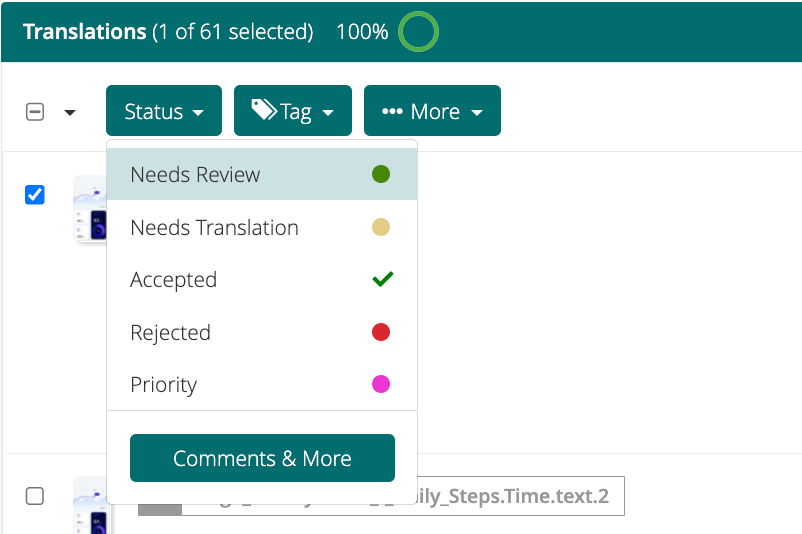
Through the Editor View, users can apply status at a string level or to multiple strings at once.
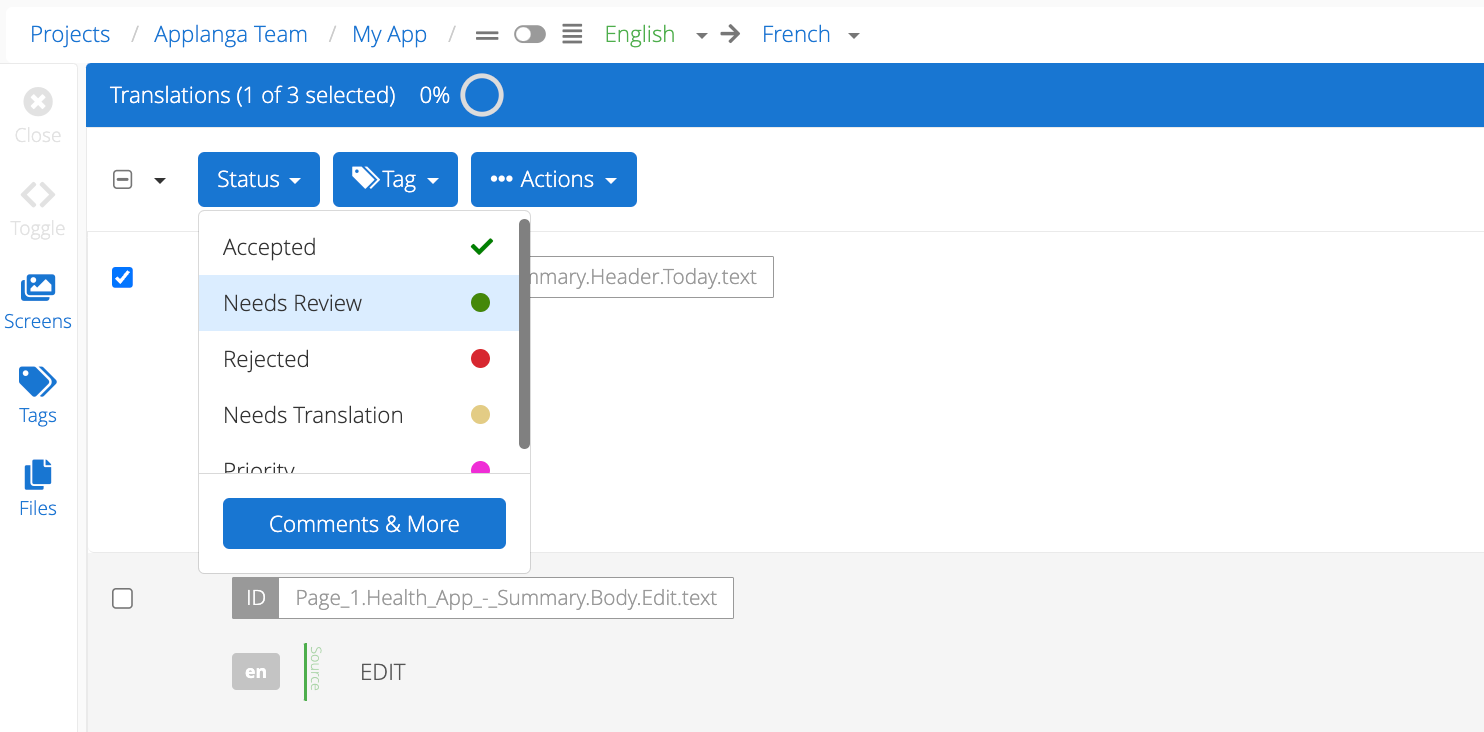
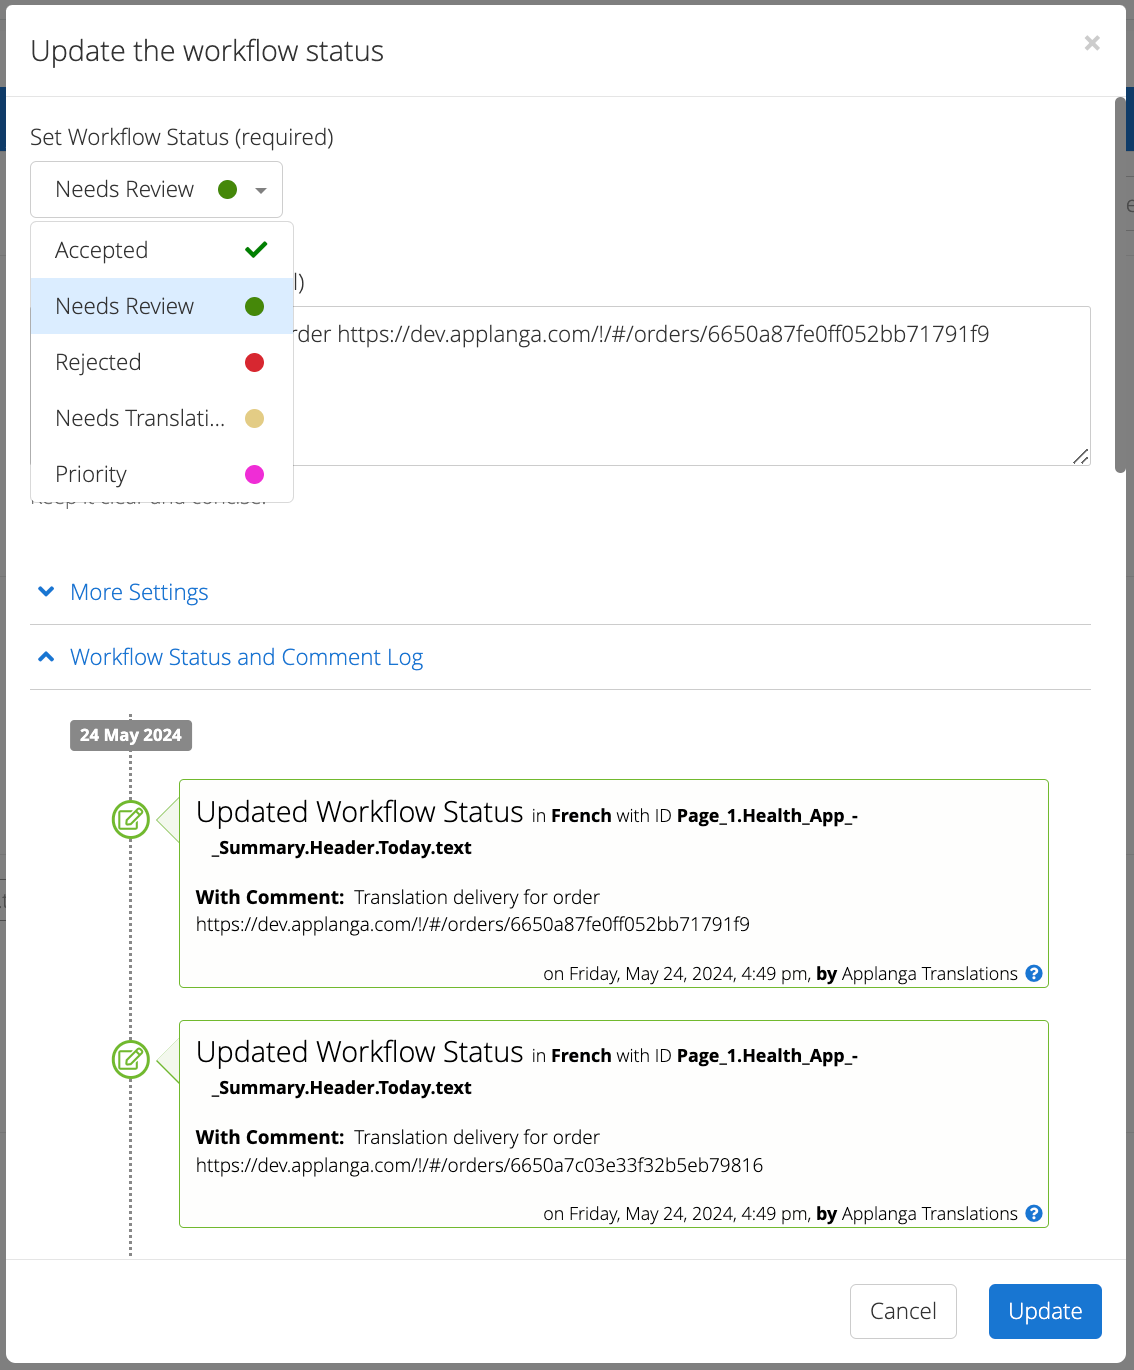
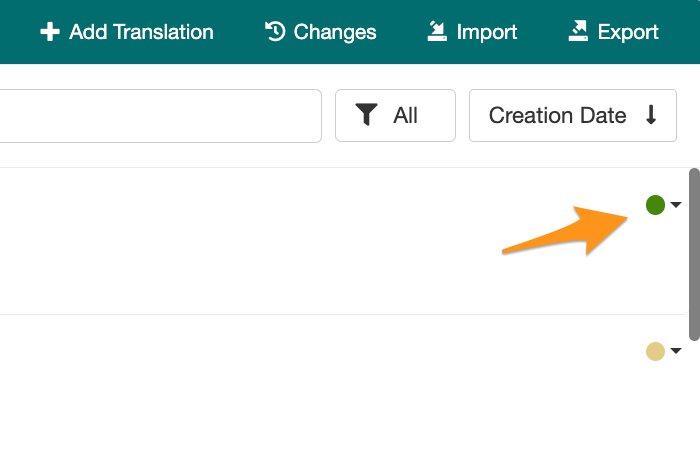
The dropdown menu will show the pre-defined statuses at the top and the custom statuses towards the bottom.
To save the changes and exit the Update workflow status dialog, click on Save.
Users with the Manager, Admin, or Owner role can reorder statuses in the Status dropdown.

 1. The status dropdown will now display in the order defined in the previous steps.
📝 Note: custom statuses that are being used in a read-only branch can't be deleted.
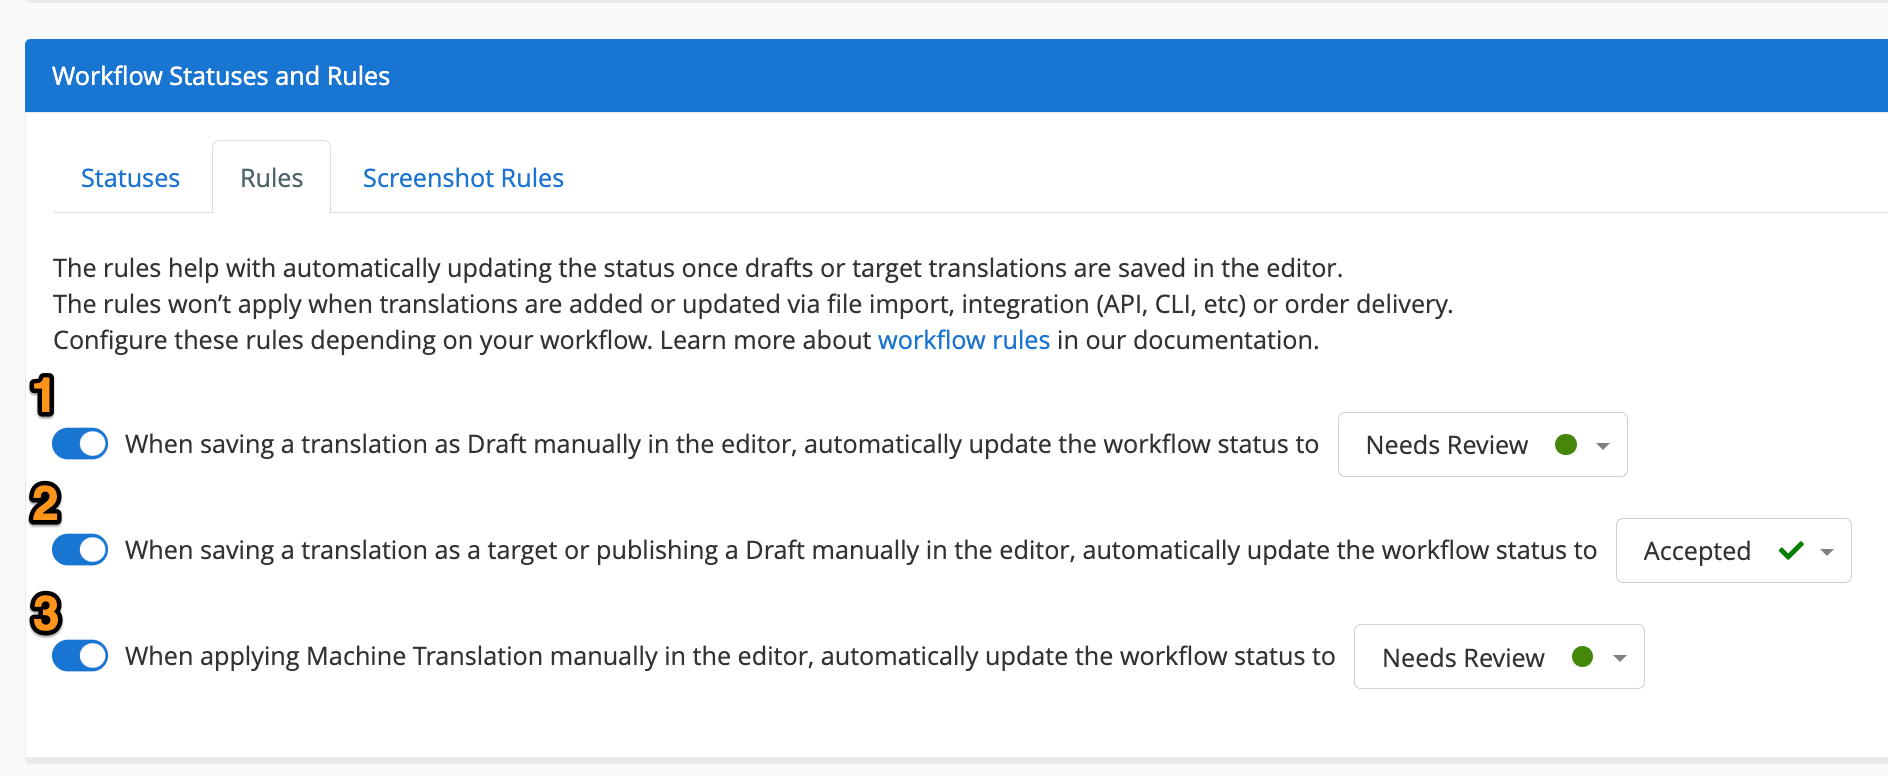
Status rules can be used to automatically update a string's status when they are manually saved as draft, published, or Machine Translations are applied. These rules don't apply to strings added via file import, order delivery, or any integrations. To enable statuses rules, navigate to the team's page and scroll down to the bottom. Under the Workflow Statuses and Rules panel, click on the Rules tab.
The first rule will automatically update a string's status to a pre-defined or custom one when the string is manually saved as a draft. To activate it, switch the toggle then select the status from the dropdown menu.
The second rule will automatically update a string's status to a pre-defined or custom one when the string is manually published. To activate it, switch the toggle then select the status from the dropdown menu.
The third rule will automatically update a string's status to a pre-defined or custom one when Machine Translations are applied manually in the Editor. To activate it, switch the toggle then select the status from the dropdown menu.
If you work with screenshots on GL Strings and want to review the screenshot layout as well as the translated strings, you can use screenshot rules to automate this process. Screenshot rules allow teams to define if and when a screenshot can be marked as verified or unverified. At the same time, it automates workflow status updates each time that a new screenshot is uploaded to GL Strings.
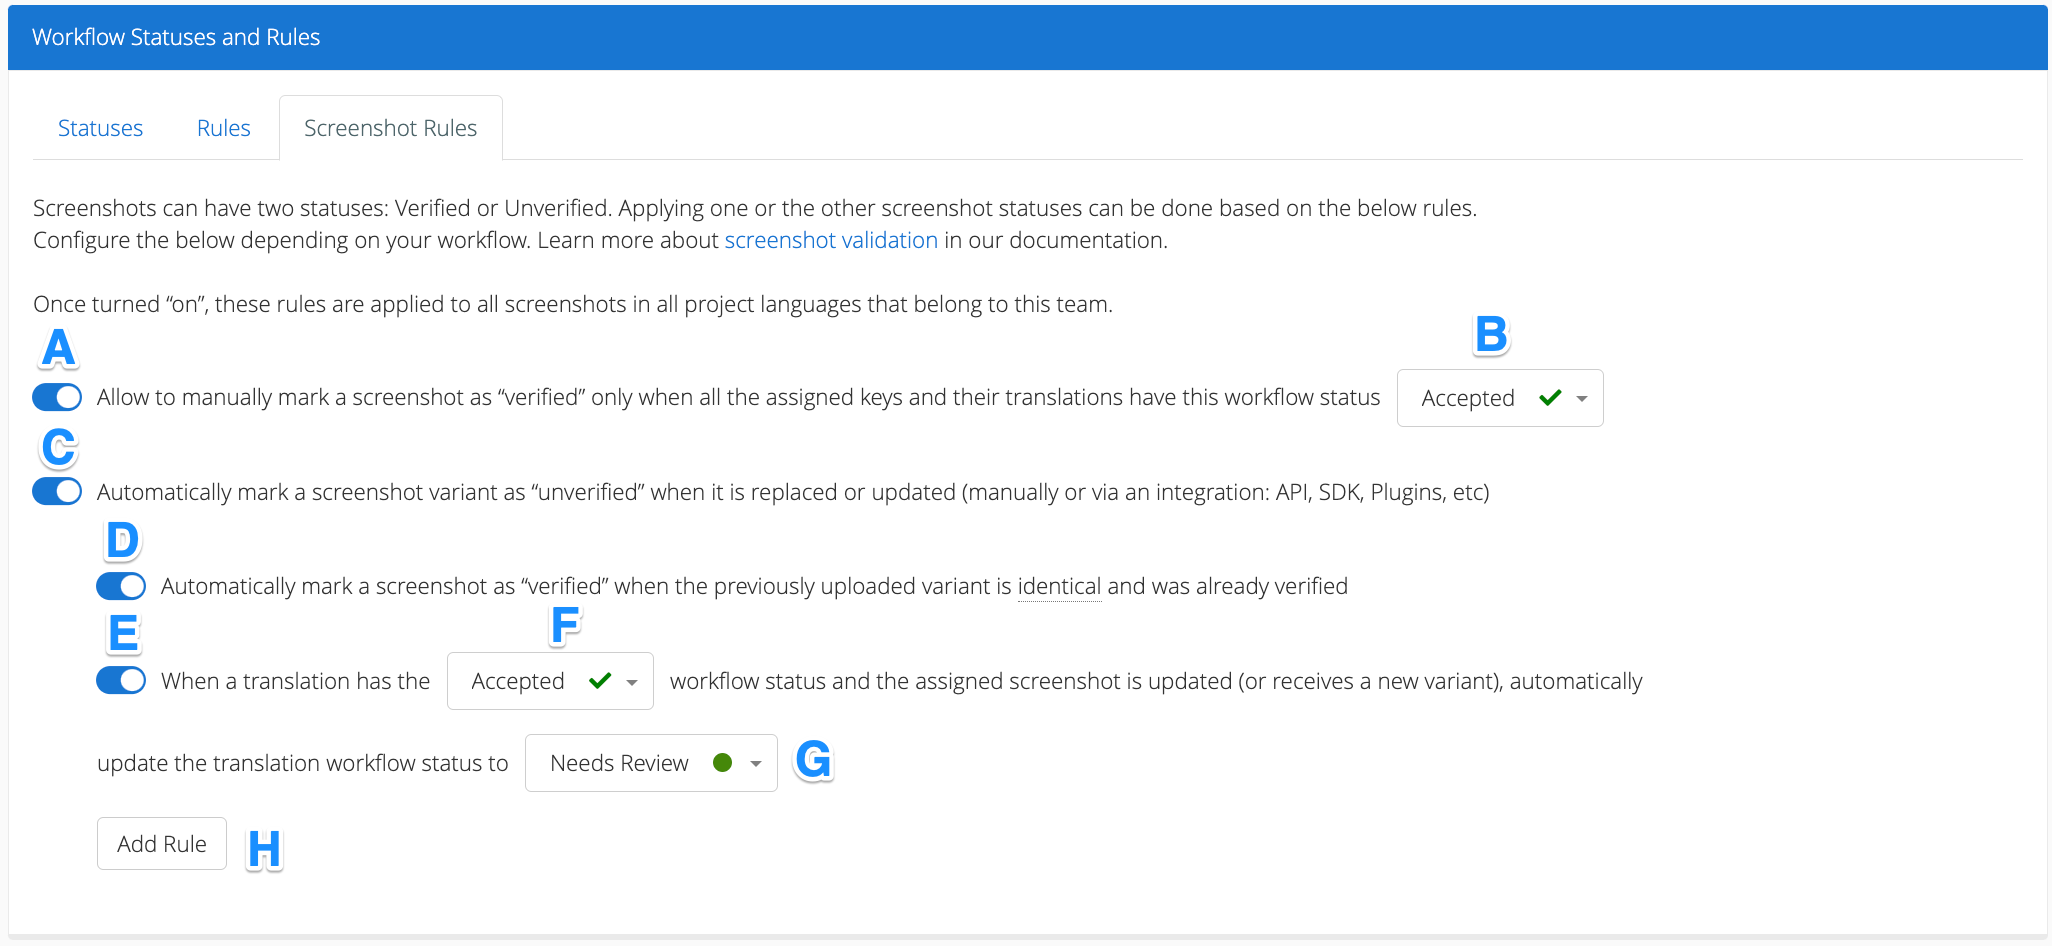
To enable screenshot rules, navigate to the team's page and scroll down to the bottom of the page to the Status and Rules Panel. Under the Workflow Statuses and Rules panel, select the Screenshot Rules tab.
Verify Screenshots
The first rule defines which workflow status must be applied to all the strings associated with a screenshot in order to designate the screenshot as verified. To activate this rule, switch the toggle (A). Then the workflow status can be selected from the dropdown menu (B).
Remove Screenshot Verification
The second rule will automatically mark a screenshot as unverified when a new variant is uploaded to GL Strings. To activate it, switch the toggle (C).
**Keep Screenshot Verification if New Variant is Identical **
Once the unverify rule is enabled, you can define that a verified screenshot keeps its verification status when an identical variant is uploaded to GL Strings. To activate this rule, switch the toggle (D).
Automated Status Updates for New Variants
Additionally, you can further specify the rule to automatically update statuses for translations associated with newly uploaded screenshot variants. This allows reviewers to quickly find and review new updates to screenshots. To activate this rule, switch the toggle (E). Then specify which status (F) should be changed to a new status (G).
For example, once a review round is complete all translations marked as Rejected receive a new status of Needs Review when new screenshot variants are uploaded to GL Strings. You can create multiple rules to automate status-based workflows by clicking Add Rule (H).