The Groups feature allows users with large applications to separate content into smaller subsets of IDs.
The Groups feature on GlobalLink Strings allows users to divide a Project's content into smaller subsets of strings that can be managed and delivered independently of each other. This can help organize large amounts of localized content and reduce the amount of translations delivered to an application at once.
The Groups feature is most useful for large projects or applications with extensive amounts of localizable content. If there are more than 50,000 individual keys in an application or software, users can either enable the Groups feature or set up multiple projects to manage all the content.
If Groups are enabled, the feature does add operational complexity. Users must actively manage group assignments, release configurations, and integration behavior across the application or software lifecycle.
⚠️ Warning: Enabling and using groups will impact the integration and localization workflows. The Groups feature is only intended for very specific use cases such as applications with tens of thousands of strings. In most cases, the Tags feature would better serve managing and organizing entries. Groups is not recommended if translation review on GL Strings is in scope.
Please reach out to support if you have questions about this feature.
📝 Note: The number of Groups does not change with the different GL Strings account tiers.
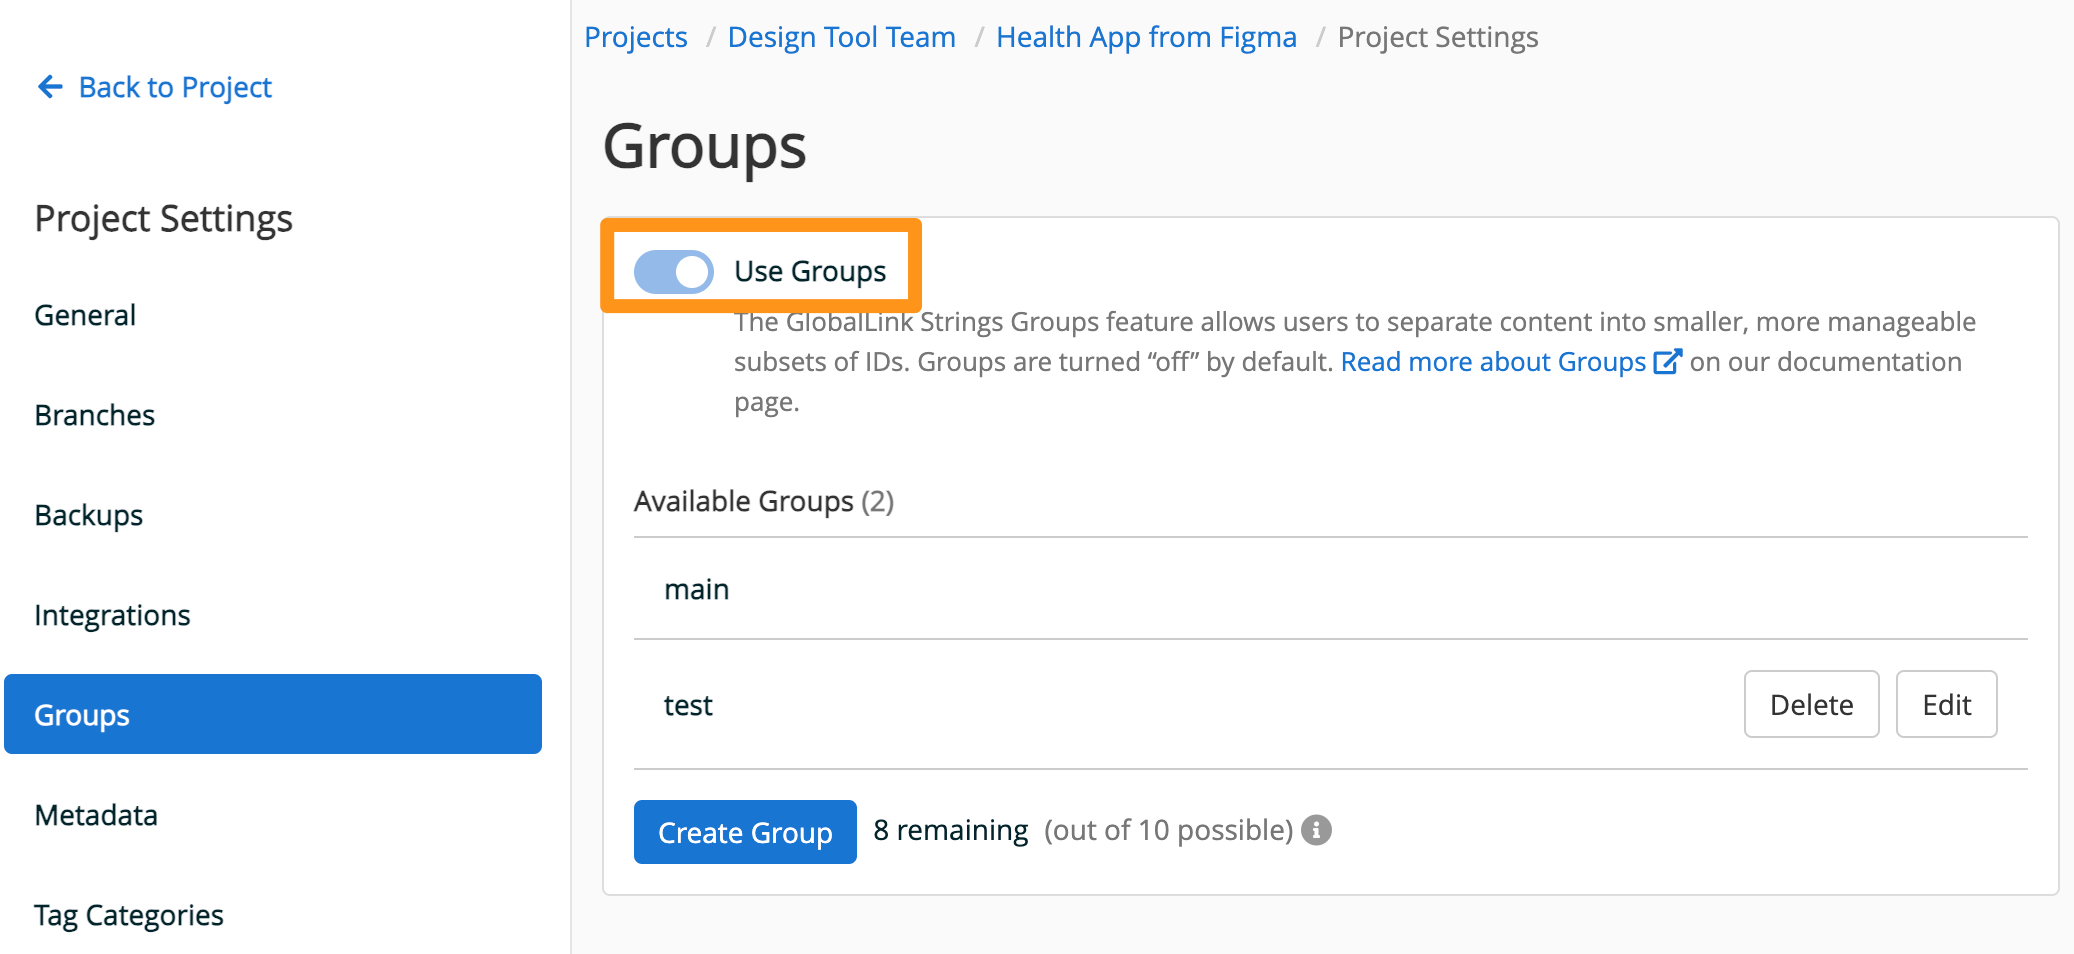
The Groups feature is disabled by default and must be enabled in the Project Settings first.
❗ Important: Using Groups has an impact on your overall utilization of GL Strings. You will need to adapt the integration and parts of the localization workflow.
Once Groups are enabled, the Main Group is automatically created and all existing entries are placed inside this Group. You cannot alter nor delete this group (only its content.)
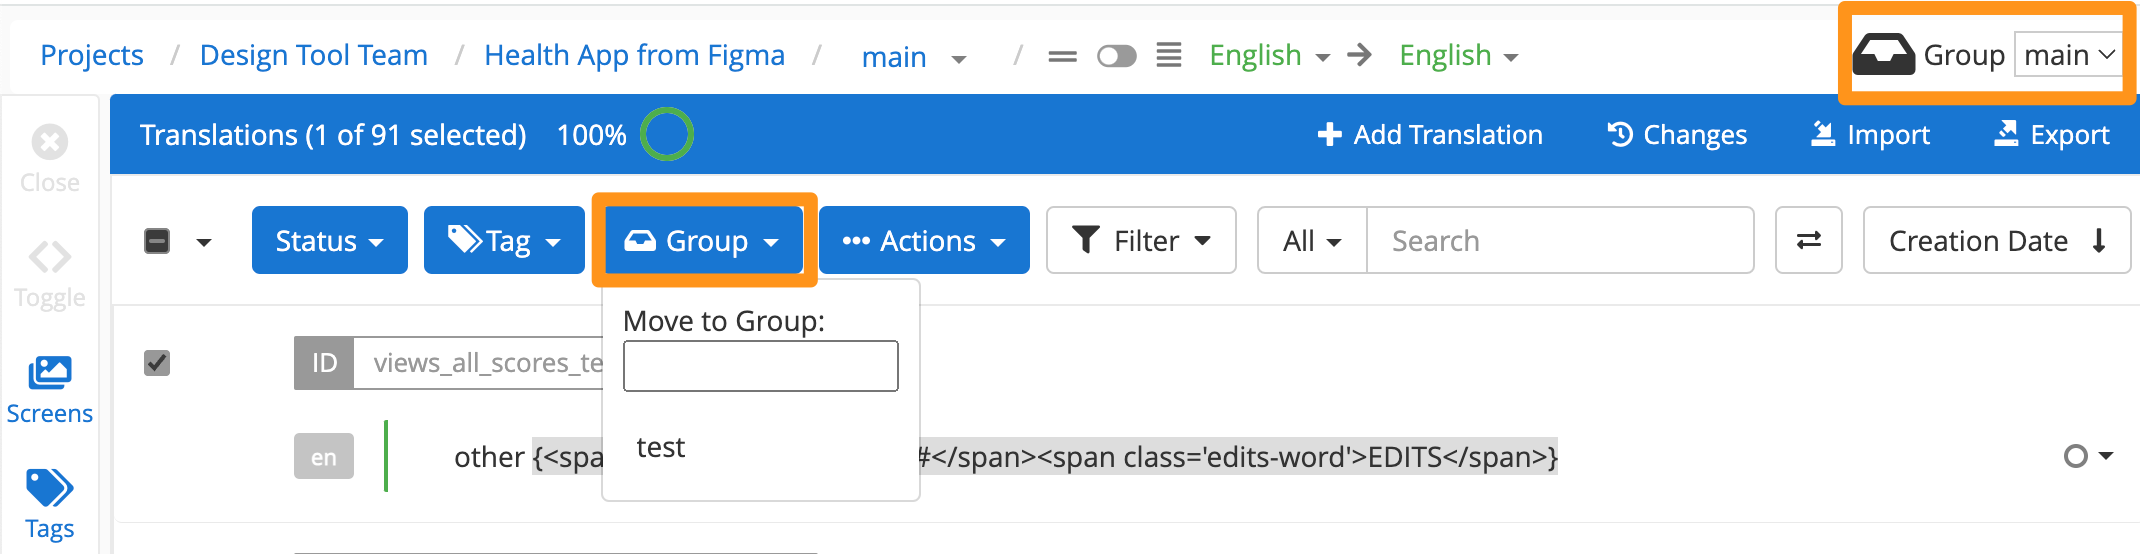
Once enabled, there are new menus to manage groups.
Exports will only include the entries from the Group that is currently selected. Imports of new entries will be put into the Group that is currently selected. Imports of translations for entries that already exist on GL Strings will have no changes to the group, unless the option to "Import into current group" is selected during import.
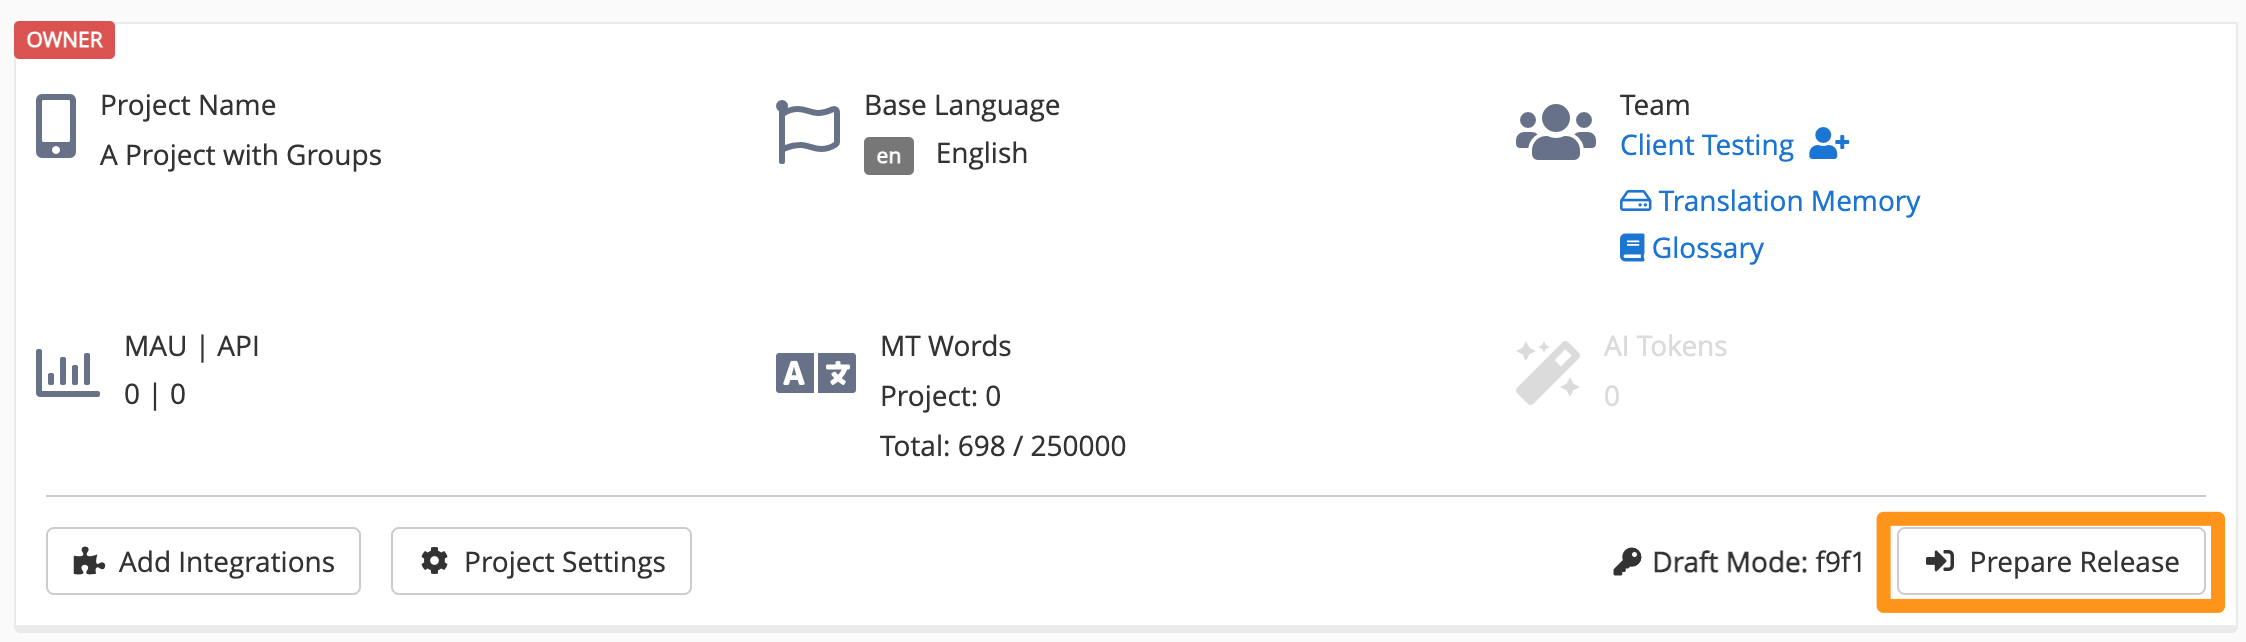
Exports from the Dashboard will include all entries. Imports of new entries will automatically be put into the Main Group. Imports of translations for entries will have no impact on the Group, meaning that the entries will stay in their current groupings.
All strings found by the SDK will be uploaded into the Main Group. If you need more space in the Main Group to upload additional strings once you reach 50,000 entries, you must move strings into another Group manually or via our API integration.
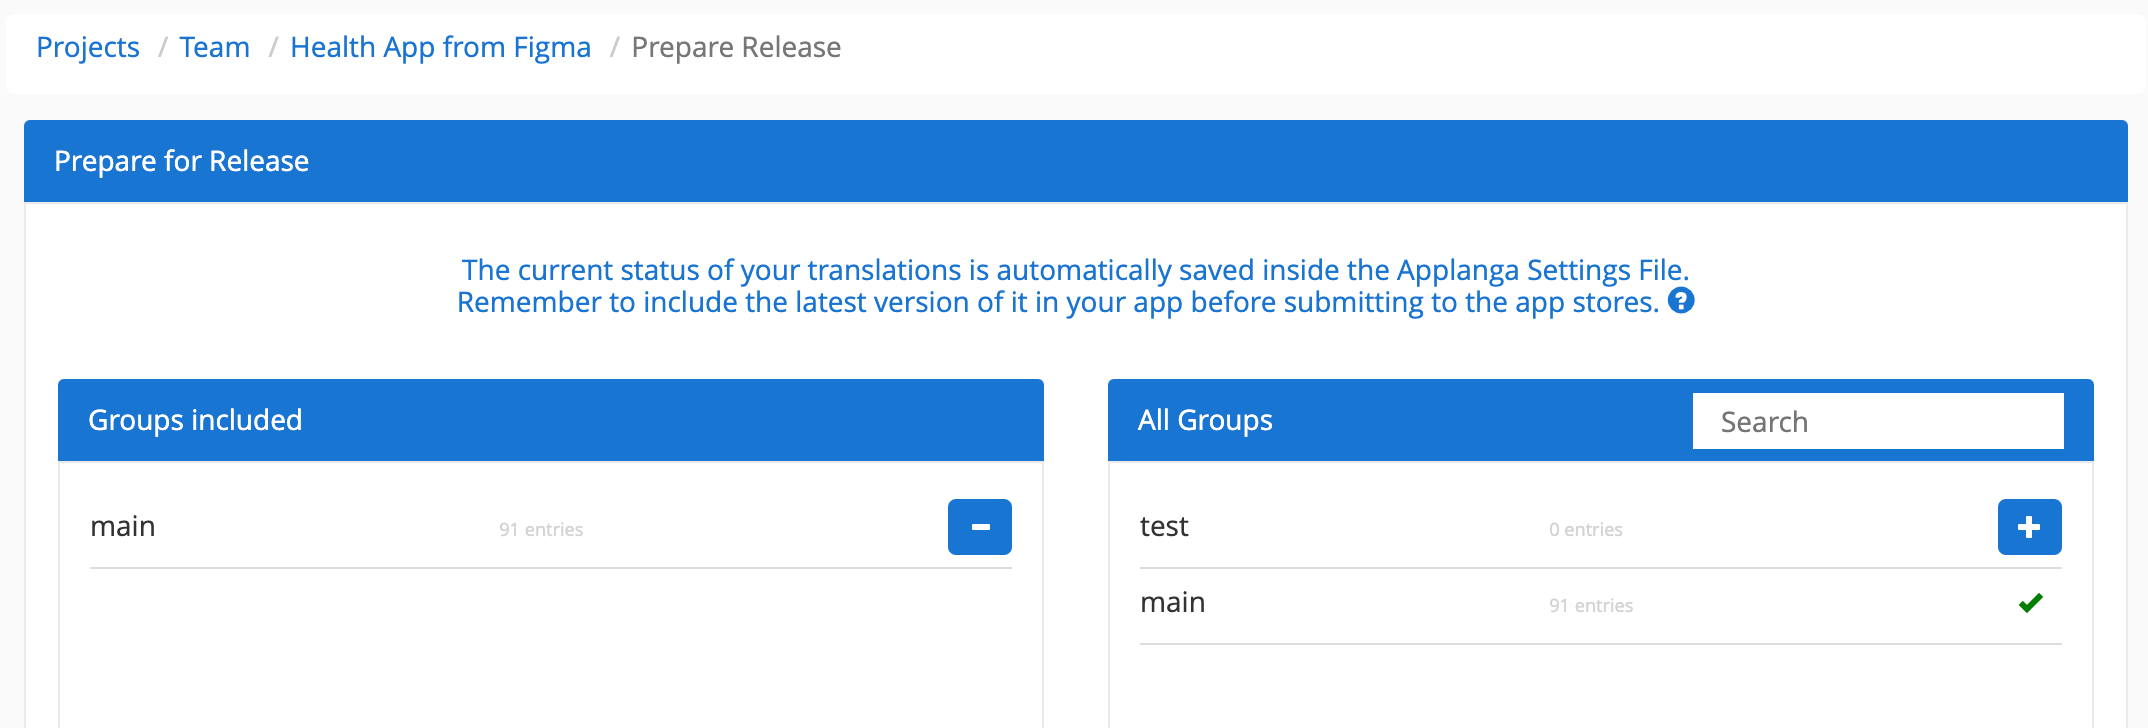
To define which Groups should be within the initial app store release, you must configure the GL Strings Settings File of your app to contain those specific Groups. By default, only the Main Group is included and updated upon opening the app.
Upon starting the app, the SDK will automatically check for translation updates and download them to the device. By default, this only applies to the Main Group and two languages: the one currently selected by the mobile app user (if supported) and the Base Language. If you want to update more than the Main Group and default languages, you have to configure the plist file (iOS) and/or the manifest file (Android) accordingly.
Please follow the documentation for the appropriate SDK integration.
To make full use of Groups inside the application, you must decide when and where certain Groups are requested. If you don't manually set the “per-group” requests inside the application’s code, the SDK will only update the translations within the Main Group.
Please follow the documentation for the corresponding SDK integration.
By default, all new keys are pushed to the Main Group. When using the API integration, the Group must be included as a parameter for both upload and download. See our API integration documentation for more details.
By default, all new keys are pushed to the Main Group. If the CLI integration should respect a key's placement in another group, you must update the CLI configuration file to include the option importIntoGroup. See our CLI integration documentation for more details.
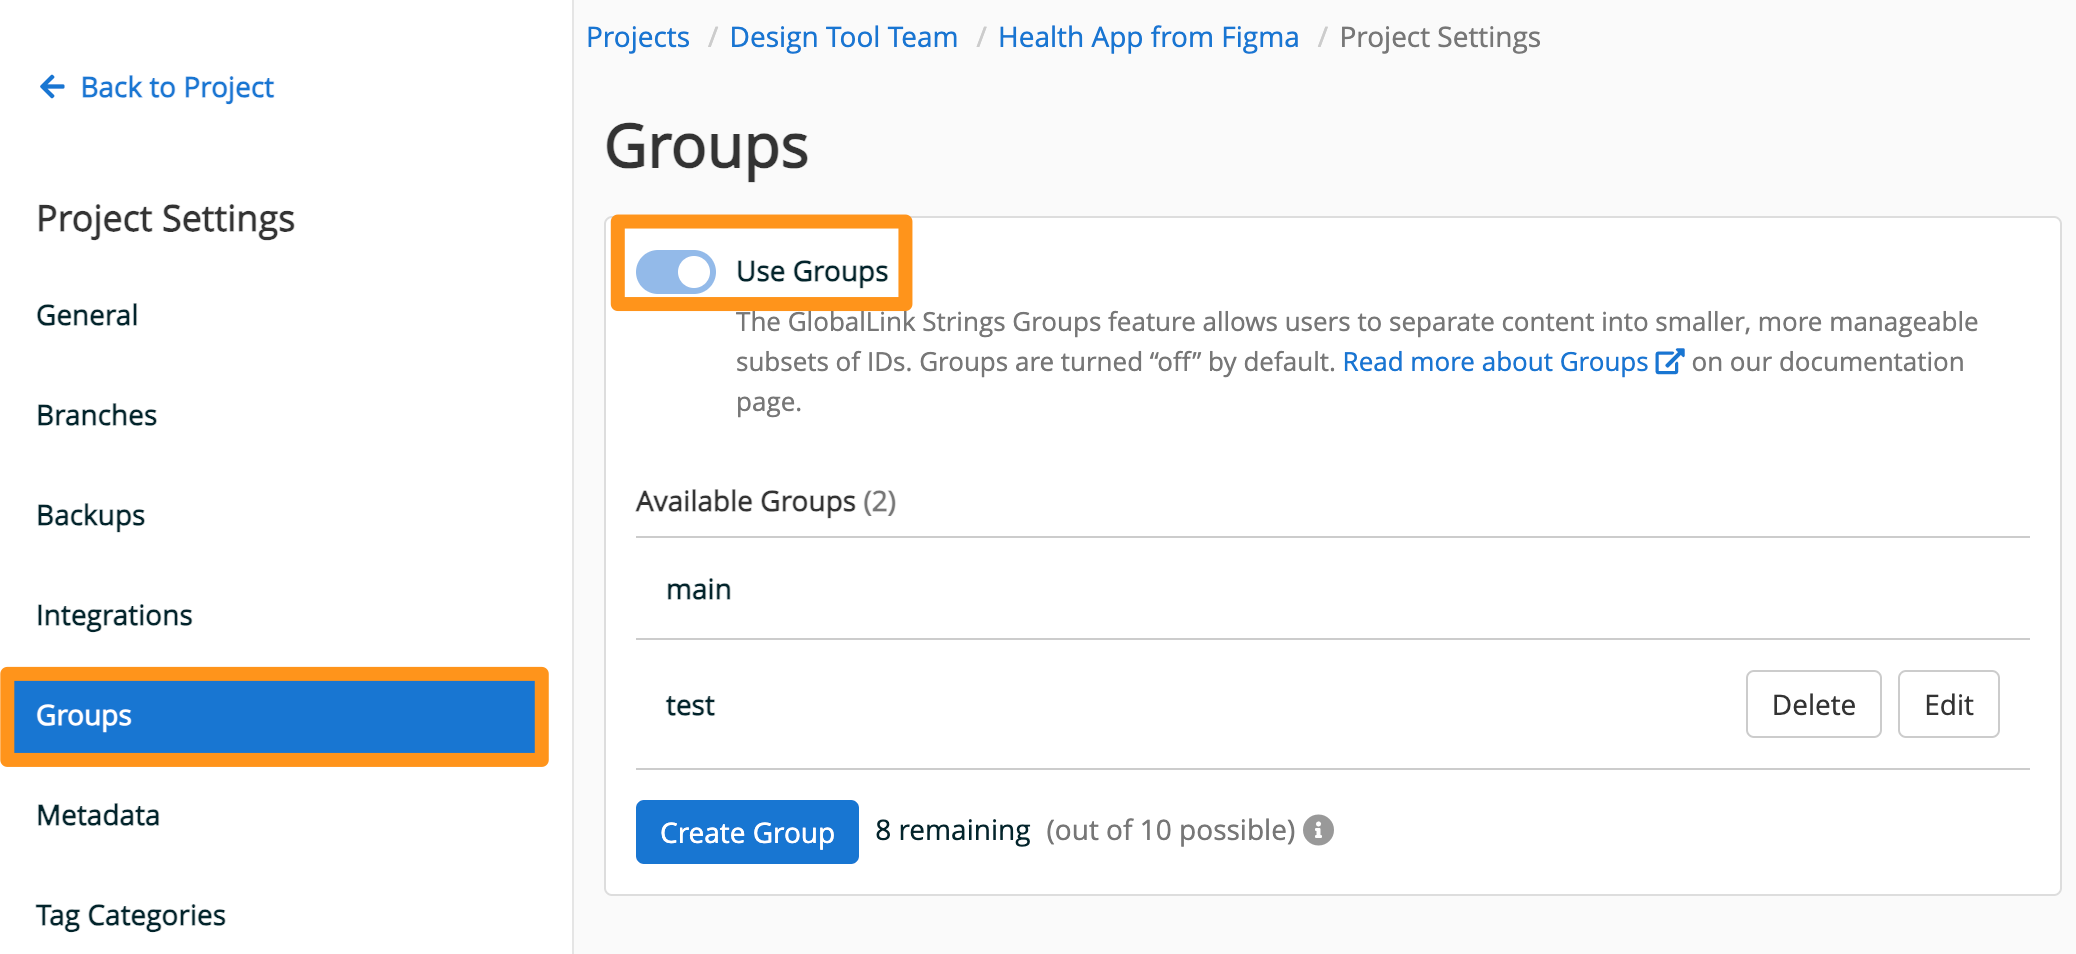
If you want to create a new Group, navigate to the Groups tab in the Project Settings:
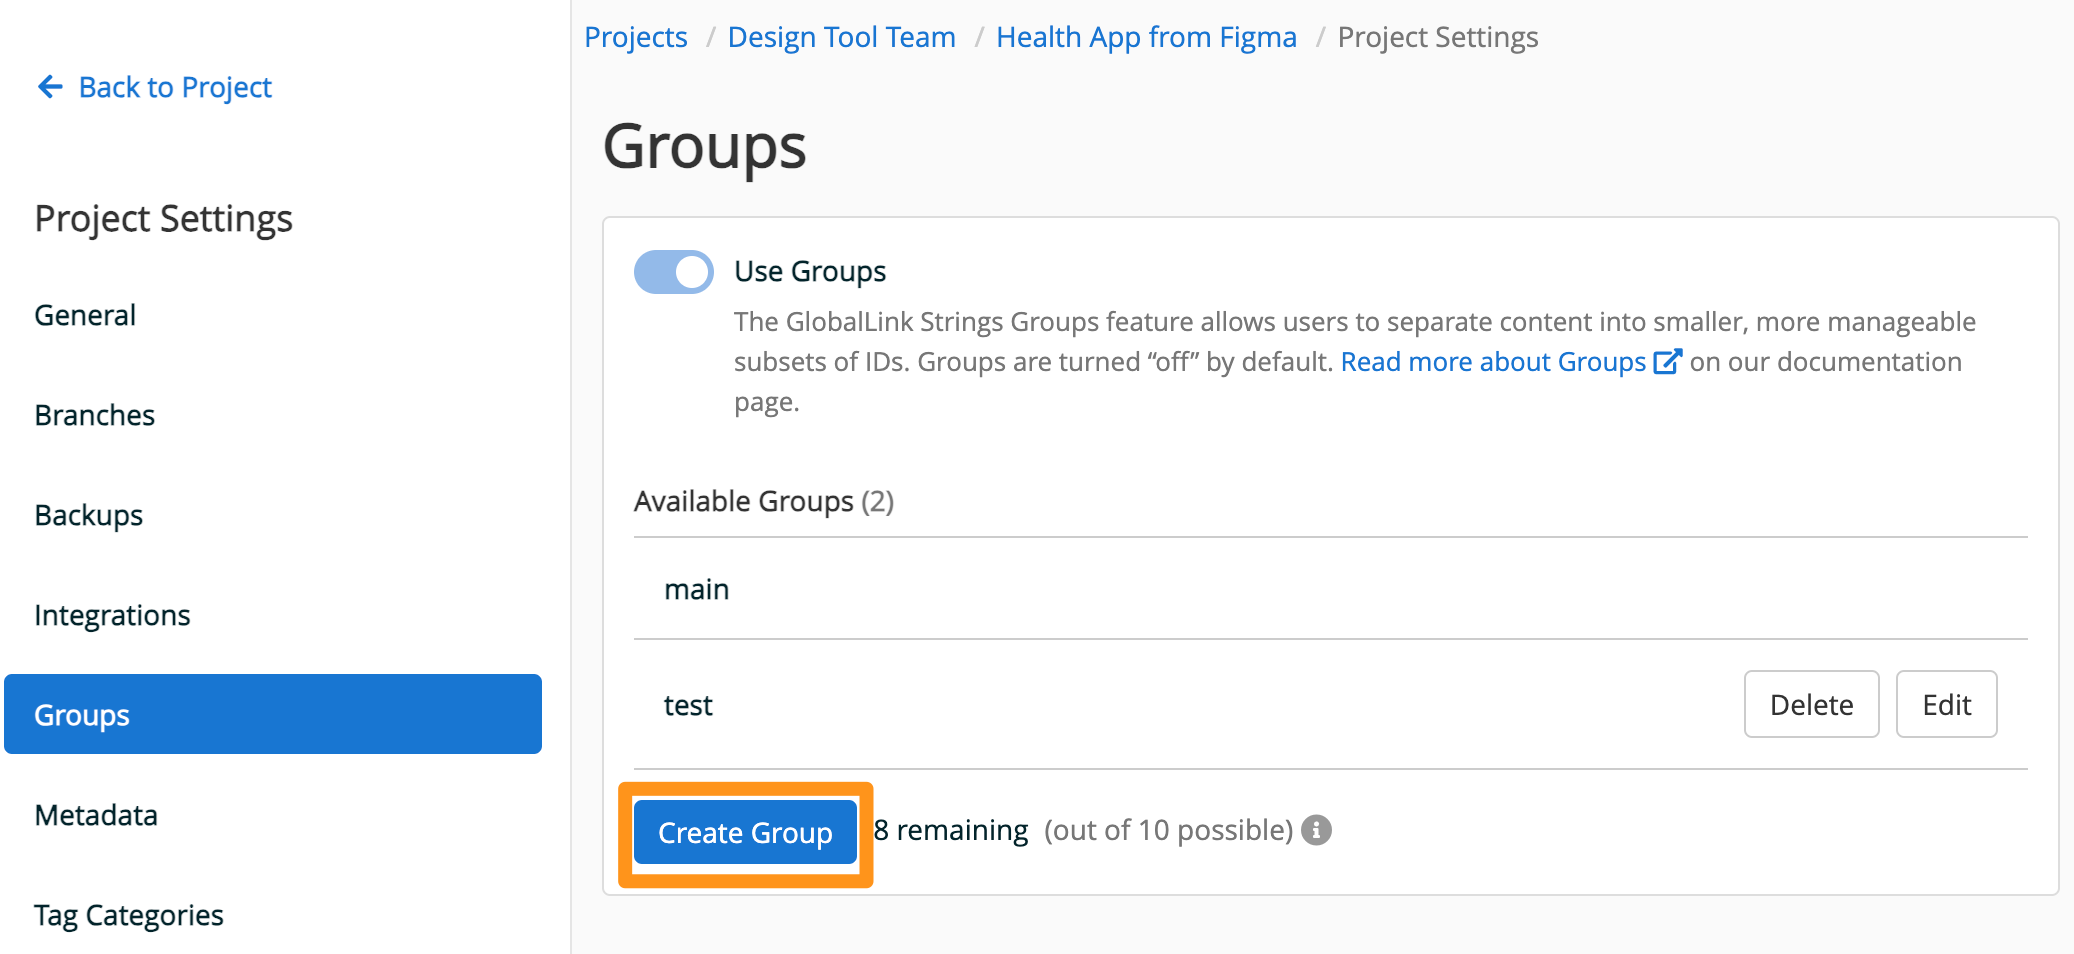
📝 Note: Only 10 Groups are allowed per Project.
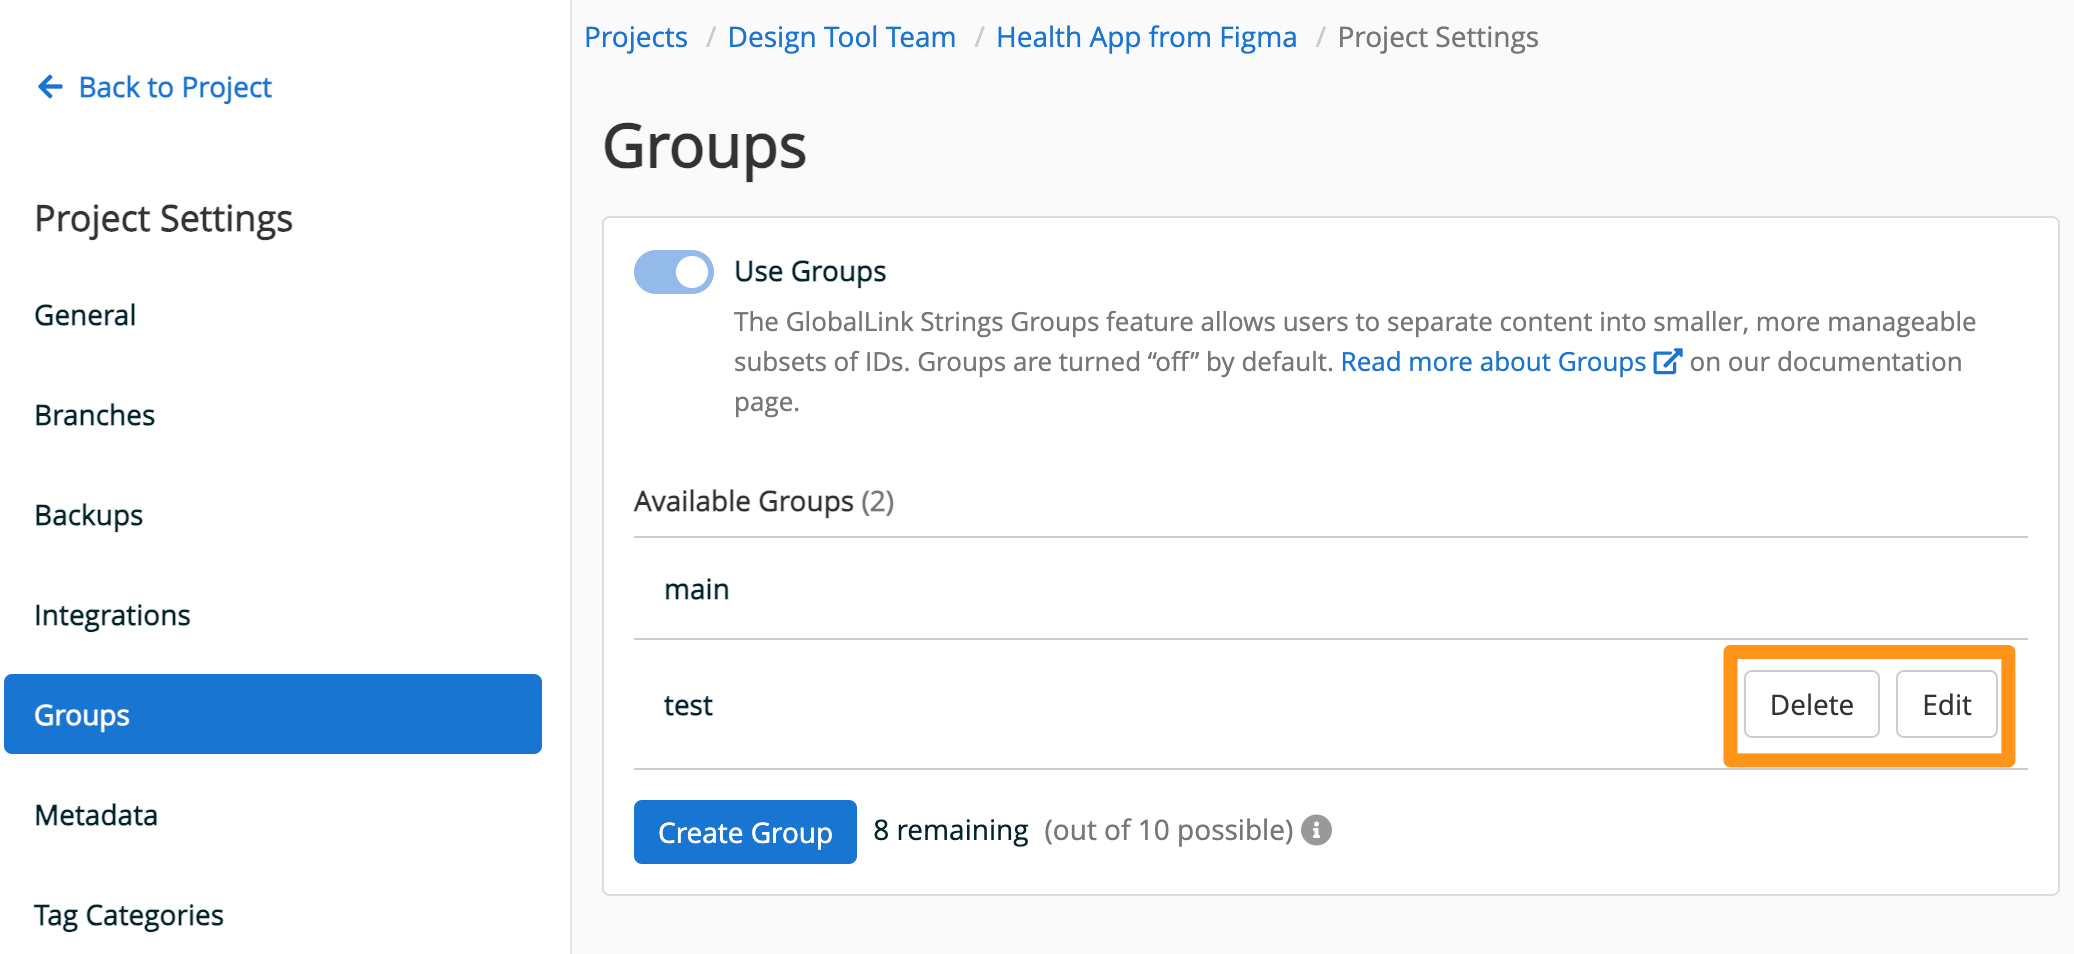
If you want to edit or delete a Group, navigate to the Groups tab in the Project Settings:
To assign entries to a Group:

❗ Important: You must update the integrations to remove references to Groups (including generating a new Settings File once the Groups feature is disabled.)
📝 Note: Before Groups can be disabled, you must relocate all entries to the Main Group and delete the other Groups in the Project Settings.